There seems to a problem that I keep bumping into every now and then and maybe theres a faster workaround without manually modifying animation tweens or blocks without effecting others within a single main timeline.
Currently, the way tweens work in different areas of the timeline in hype, everytime I want to modify/edit the first tween it effects the second and merges two tweens into one. I want know if theres a way to lock the second tween and modify the first without it effecting the other?
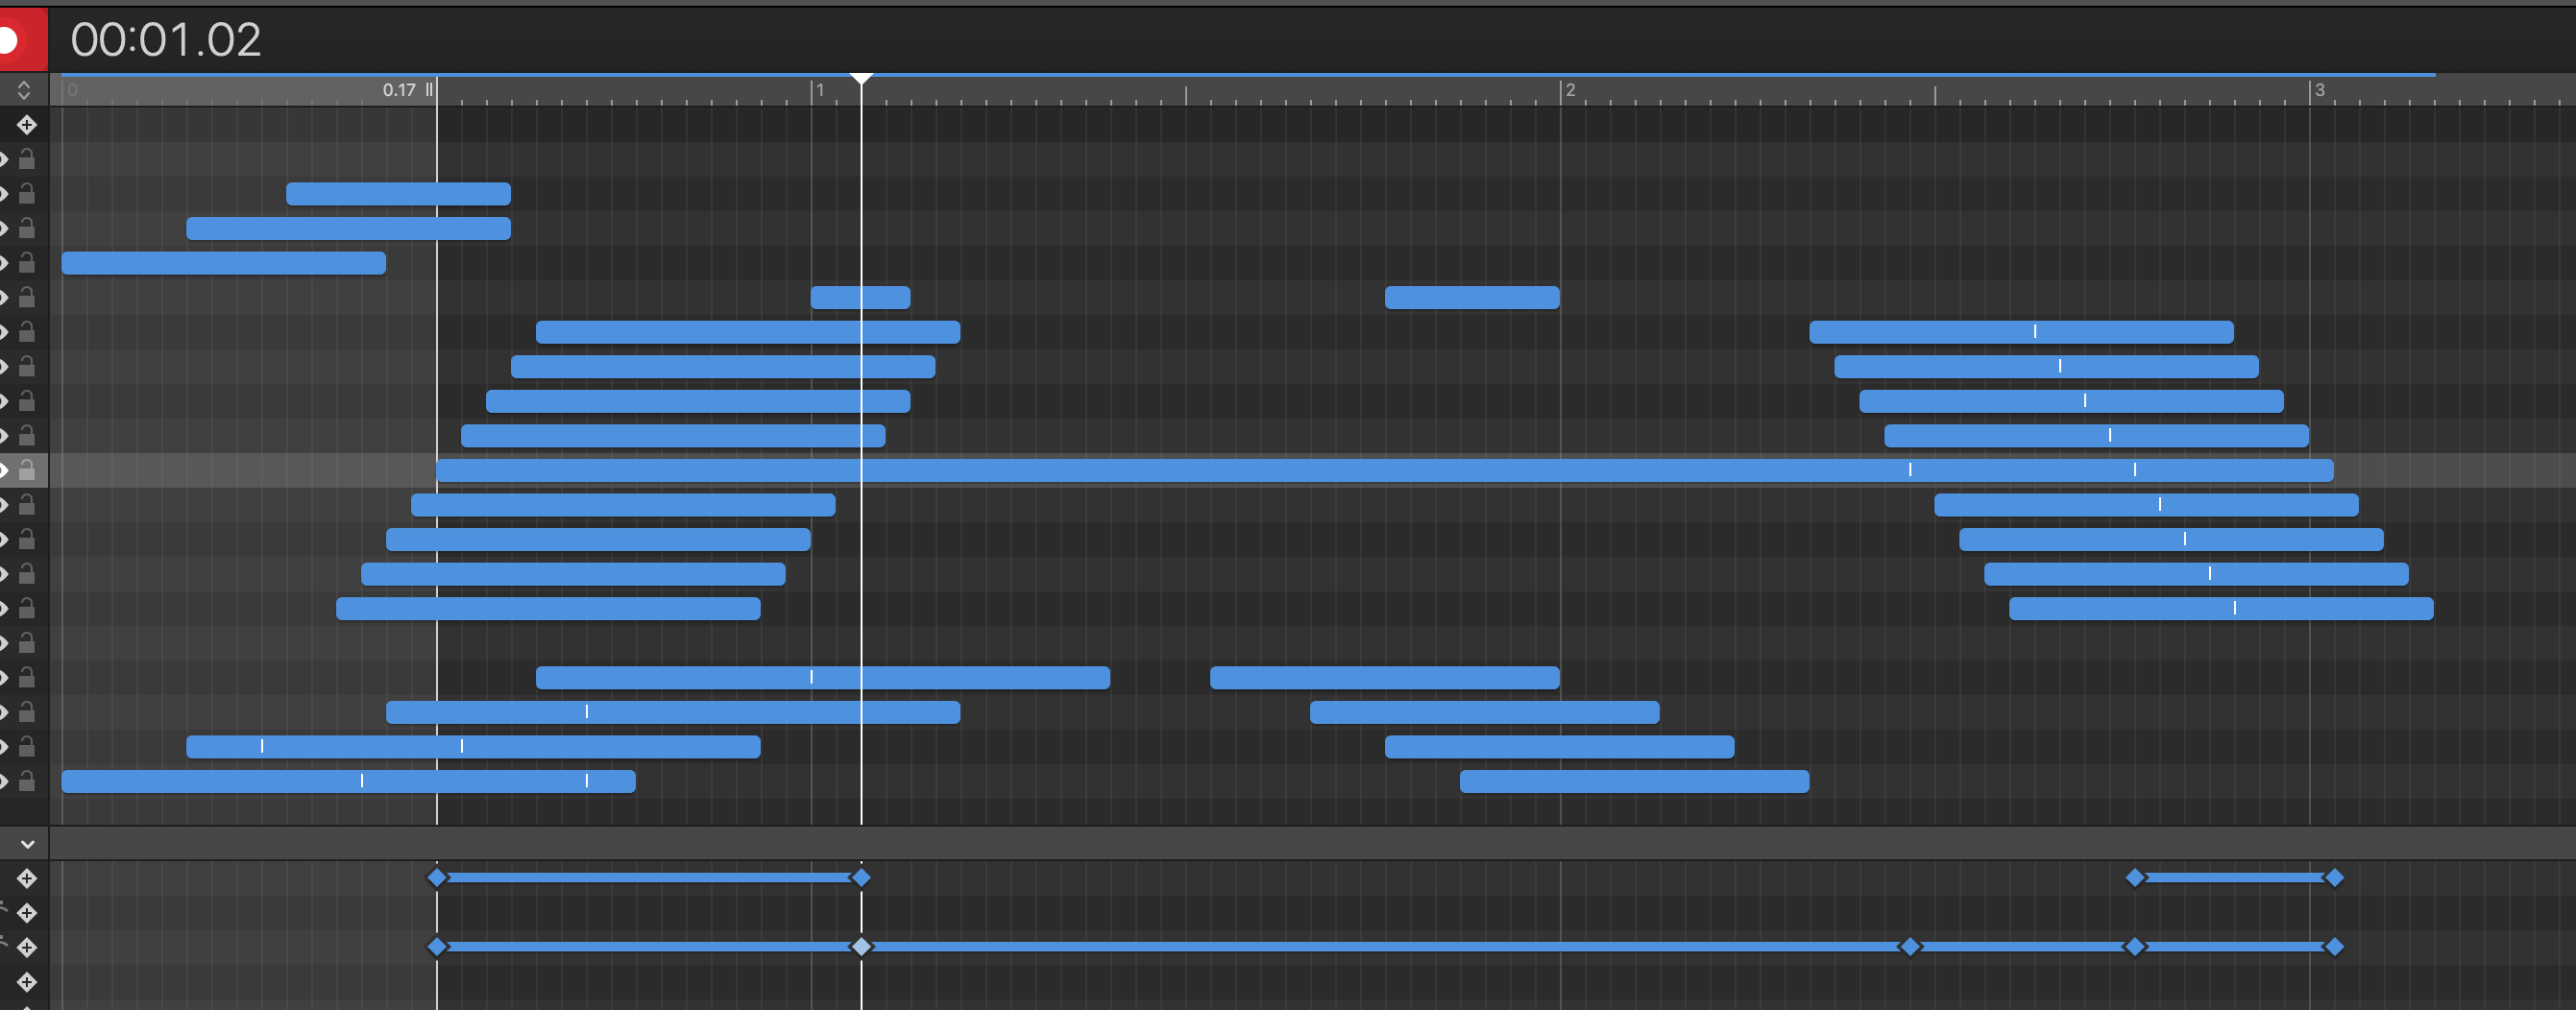
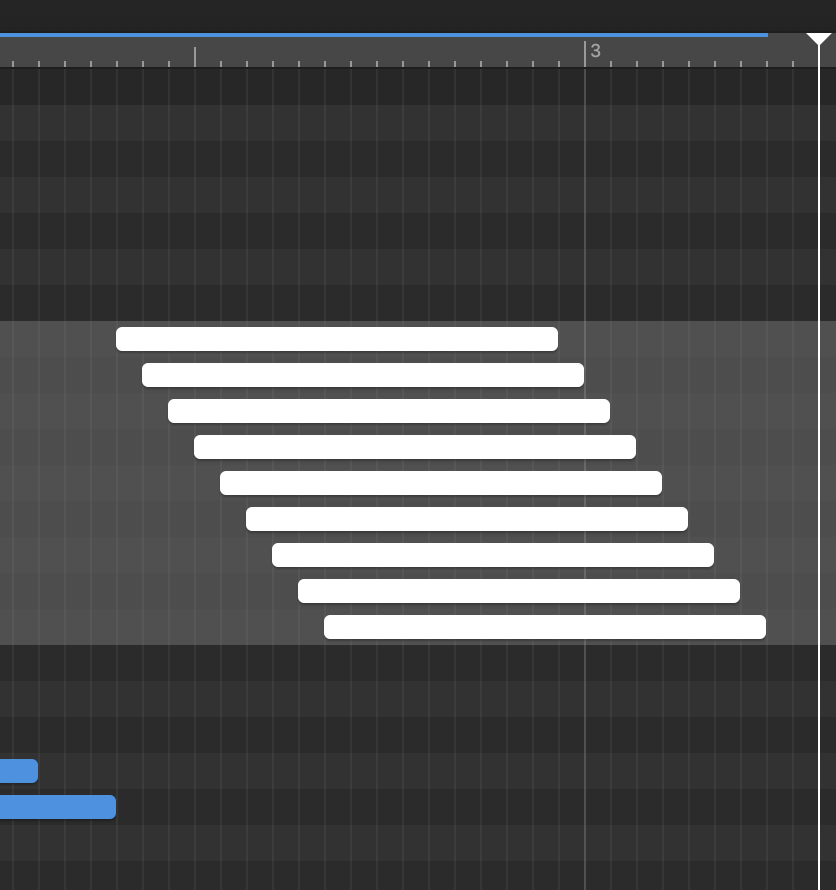
To further explain what I'm talking about, please refer to these screenshots.
I have two tweens for intro and outro in the Main timeline
Theres a workaround that I know of and that is to use different timelines for the second tween but wouldn't it be better to have a new feature to lock certain animation tweens? This would be quite useful to speed up the process of an existing animation or idea and build on top of. Maybe there's a better technique to animating the tweens that you know of?
Let's say this is for the left property, and you have these values for the keyframes (labeled as A:
A       B         C       D
10px -- 15px      15px -- 20px
The gap really denotes there is no change in value.
The fundamental problem is if you change keyframe B, what do you expect the state in between B and C to be, and when do you expect the value for keyframe C to go into effect?
It sounds like by a "lock" you're asking for a new way to tie B and C together so they get the same value? (or basically a reaaaally long keyframe)
Current workarounds:
Select B and C when making changes
Add keyframes between B and C if those are to have specific values
Interesting. I wonder how does Hype treat different timelines under the hood? In other words, what are the key differences between what I wanted achieve and the different timelines as it pertains to achieving this fundamentally challenging situation with different tweens?
Depends If you meant to say if no change between the two then yes.
One solution for now is to after editing B just copy B, select C and delete it, Paste B…
A future solution could be to apply changes to every selected key frames when using the inspector when changing values. Not sure how good that would be.
Another idea… but more complex use symbols with nested timelines and then you can trigger the timeline backwards using symbol actions. Surely, not a solution for every project but can help minimize key frames.
How about just paste to another scene
or new relative timeline and add an action to go to those at a specific time? It be nice If I can select all 4 layers at the same time, right click on those tweens and move them to a new scene or new relative timeline? Right now you have to copy into new it’s always copying pasting...
Sadly, Hype has a bug (or call it intentional but annoying preset) when using relative timelines in conjunction with symbol actions that trigger timelines. It could be an ideal solution but it creates rather strange results (was the topic of a post a couple of months ago).
You can always duplicate the Main Timeline and rename and edit it or make the copy relative.
@Jonathan sorry for digressing a bit. It be great if there was a new contextual menu for tweens to move them into new/existing timelines and or scenes and symbol would make easier work with. Right now you have to select to get a contextual menu for individual layers but on more of a general level on the left hand side with all of the elements, layers and tweens but limited to specific tweens if selected.
The duplicate timelines made it and its good idea, I knew about it, its just too many processes to get to and one has to remove other tweens and move the ones on a new timeline to other it's just another obstacle to worry about.
In a single timeline, a "gap" is really only a visual representation -- we display it this way when two consecutive keyframes have the same value.
A different timeline takes ownership of the property and immediately sets the value of the property upon the first keyframe hit. Or, if a relative timeline, remaps the value of that keyframe to the current value of the property which would then proceed into an animation.
So with relative and absolute, there are basically two different operating modes, which goes back to this question:
There's really no way for us to know your intention. One way or another, you need to take some action to explain to Hype's UI if it should animate from your new value, or hold it.
This is a common workflow problem and I think there's some place for it, but I haven't really seen what other animations tools with a similar paradigm would do here. Most are either very "strict" with animation values leading to immediate jumps or use a looser flow like Hype.
Like what it does under the hood with regard to timelines.
I just checked “cut” acts like paste in place which is nice. However, there are too many steps or clicks and button presses to get to.
cut
create a new timeline or scene or symbol - check off relative if needed for timeline
paste
Specific to workflow: Create an action on main timeline to go the new timeline or symbol...
Specific to workflow: Move tweens to the beginning of the timeline within a new timeline. Update: Upon checking paste actually places these to the beginning.
What if there was a move to a new timeline, scene, symbol from the tweens selected. This would encompass all 3 steps and create a universal action or a “macro” as some like to call them.
Thanks for explaining your use case & the suggestion, it sounds like there's a lot of workarounds for this, my favorite being:
You can select option + [click the add keyframe button] when an element is selected to create an anchoring keyframe for this purpose directly after keyframe B.
How does one add keyframes? Everyone uses Hype in different ways and when it comes to animating I record using Capo and select the area that I want to record and record it. How do you animate to add keyframes? It's not a question of if I know how to you use the app, It's more of a question how you Daniel, use Hype specially the "adding of the keyframes" your workflow?
I see, so you just randomly add from a list of available properties there's no actual "blank keyframe" as a selection. That part was a bit confusing to me. Adobe Animate has a selection "blank keyframe" and In my mind I thought Hype had something similar but really its from a list of available keyframes that it acts like its a blank if it's not tweened?
I believe that more than randomly, it is within the properties that will be modified later. At least that's how I do it. I create that frame just one frame later
Interesting, Id like to see what you've done with Hype. Might I ask, how often do you use the app to know what the best way for you to use the app? Im asking because it's surprising to me how others use the app and the outcome is.
I am honestly very new to Hype.
I made the animation of my logo in Hype, drawing absolutely everything, the old-fashioned way, with Hype.That's how I found I had to make many changes and that's where I started applying this method to protect the work done.
Maybe it is a daring thing for me to give my opinion to the most experienced users, but I think we can all learn from each other
It’s all good, sorry that I made it seem as I though I wanted to challenge you. My intention was to know the level of expertise you bring using the workflow of your choice. Thank you for your honesty. Btw that logo is looking good, great work!