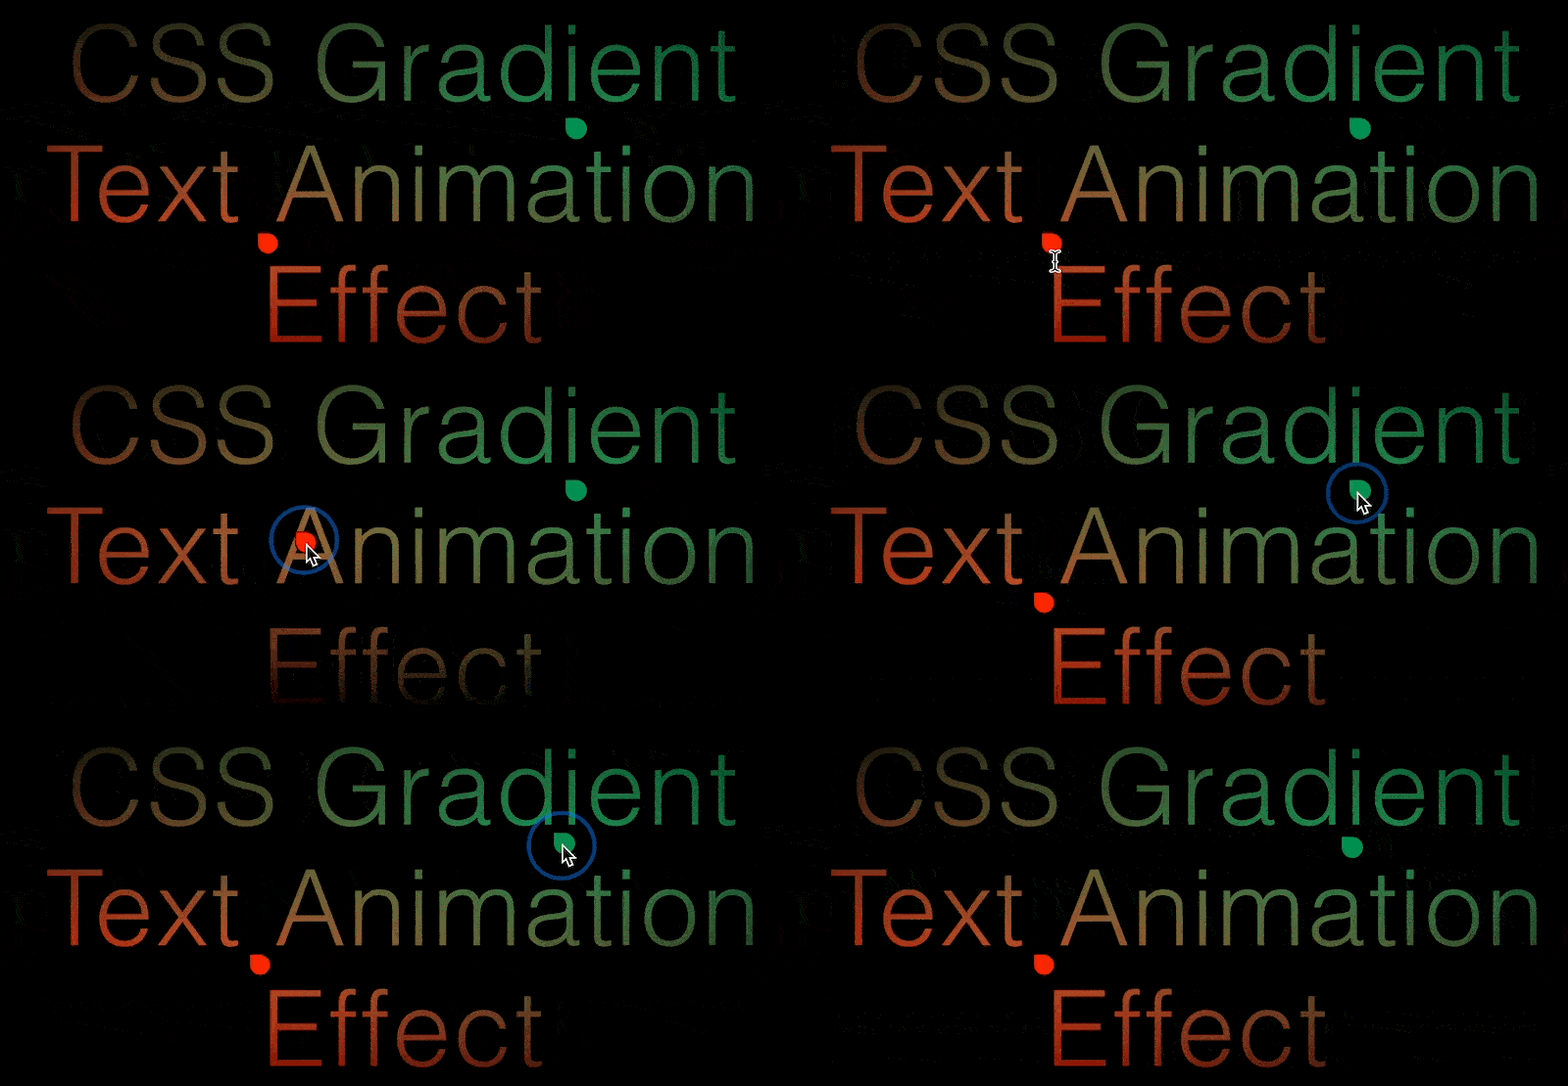
What is Hype Style Caster?
Hype Style Caster is a tool that allows you to dynamically style elements on your web page. This is especially useful for when you want to change the appearance of an element based on user interaction or other conditions on the page.
With Hype Style Caster, you can easily change the style of any element on your page, without having to write any CSS code in Head HTML. All you need to do is add a data-style-declaration attribute to the element, and specify the style you want to apply in that attribute. Hype Style Caster will then take care of applying the style to the element.
Why use Hype Style Caster over regular CSS?
Often you can do the same with just in-lining some CSS in your Head HTML! That said, there are some benefits to using Hype Style Caster. Your style's definition is included in your Hype documents and doesn't require anything to be declared in Head HTML. The dynamic benefits come into play when combining it with Hype Action Events or Hype Data Magic. They also might be useful in cases where styles should change depending on custom data.
How do I use Hype Style Caster?
Using Hype Style Caster is very simple. First, add a data-style-declaration attribute to the element you want to style. Then, in the value of that attribute, specify the style you want to apply to the element.
For example, if you wanted to change the color of an element to red, you would add the following attribute to that element:
| key | value |
|---|---|
| data-style-declaration | color: red; |
example1.hype.zip (23,2 KB)
Hype Style Caster will then take care of applying that style to the element. It will check for the validity of the CSS, create a style sheet if needed and add /update the style there. It will also apply !important to override Hypes local element styles without overwriting them.
Can I use Hype Style Caster with Hype Action Events?
Yes, you can use Hype Style Caster with Hype Action Events. Action Events allow you to specify code that will be executed when the scene is prepared for display. You can always also refresh styles defined on data-style-action by running hypeDocument.refreshStyles().
To use Hype Style Caster with Action Events, you first need to add a data-style-action attribute to the element you want to style. Then, in the value of that attribute, specify the code you want to be executed when the event occurs.
For example, if you wanted to change the color of an element to red when the user clicks on it, you would add the following attribute to that element:
| key | value |
|---|---|
| data-style-action | element.style.color='red'; |
Hype Style Caster will then take care of applying that style to the element
example2.hype.zip (22,4 KB)
What if I want to change the style of an element based on other conditions on the page?
Hype Style Caster also makes it easy to change the style of an element based on other conditions on the page. For example, you could change the style of an element based on the width of the browser window, or the scroll position of the page.
To do this, you need to add a data-style-action attribute to the element, and specify the JavaScript code you want to run in that attribute. The code you specify should return an object that contains the styles you want to apply to the element.
For example, if you wanted to change the background color of an element to red or green depending on if the browser width is less than 768px, you would use the following code:
| key | value |
|---|---|
| data-style-action | { backgroundColor: window.innerWidth < 768? 'red' : 'green' } |
When the browser width is less than 768px, the code specified in the data-style-action attribute will be executed, and the background color of the element will change color after refreshes. In the example, I am also refreshing on every window resize event.
example3.hype.zip (18,5 KB)
Attention: Using data-style-action requires Hype Action Events!
Use data-style-action to change the style of an element based on the result of a Hype function
In addition to using data-style-action to change the style of an element based on other conditions on the page, you can also use it to change the style of an element based on the result of a Hype function.
To do this, you need to add a data-style-action attribute to the element, and specify the name of the Hype function you want to run in that attribute. The function you specify should return either a string containing the CSS styles you wish to apply to the element, or an object containing the style attributes you would like to apply to the element.
For example, if you wanted to change the color of an element to red when the user clicks on it, you would use the following code:
| key | value |
|---|---|
| data-style-action | myStyle() |
And in your Hype function, you would use the following code:
function myStyle (hypeDocument, element, event) {
	return { color: 'red' };
}
When the scene is prepared for display, the 'myStyle()' function will be executed, and the color of the element will be set to red.
example4.hype.zip (22,6 KB)
You can also return a string containing CSS styles from your Hype function:
function myStyle (hypeDocument, element, event) {
	return 'color: red;';
}
example5.hype.zip (22,6 KB)
Attention: Using data-style-action requires Hype Action Events!
Using data-style-declaration to set the width, height and position of elements in a Hype symbol
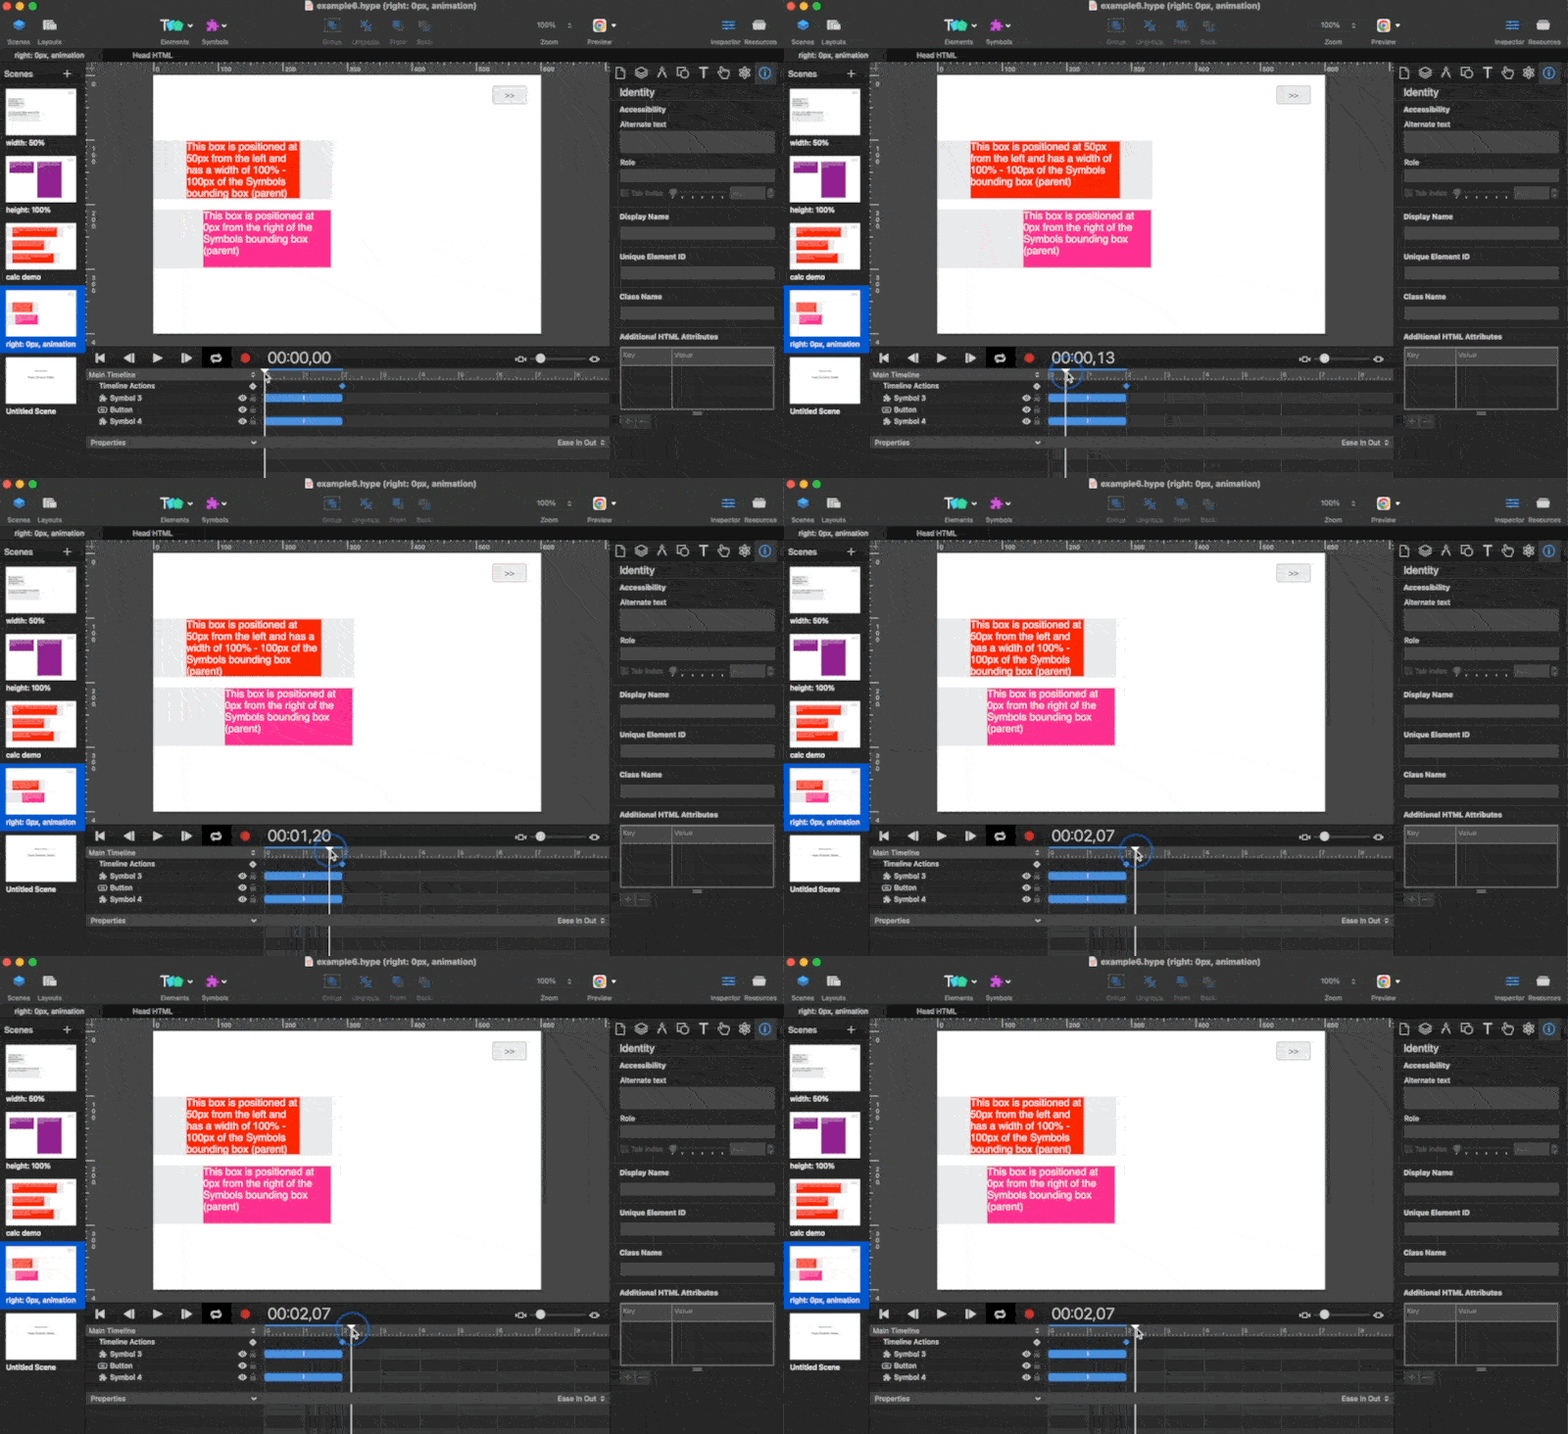
example6.hype.zip (188,4 KB)
One of the great things about using the data-style-declaration attribute is that it gives you a lot of control over how your elements are displayed. This is especially useful when working with Hype symbols, as they don't support the built-in flexible layouts method (yet).
With the data-style-declaration attribute, you can easily set the width, height and position of elements. For example, to set the width of an element to 50%, you would use the following code:
| key | value |
|---|---|
| data-style-declaration | width: 50% |
To set the height of an element to 100%, you would use the following code:
| key | value |
|---|---|
| data-style-declaration | height: 100% |
You can also use the data-style-declaration attribute to set the width, height and position of elements using the calc function. For example, to set the width of an element to 100% of the width - 100px of the Symbol and the left position to 50px, you would use the following code:
| key | value |
|---|---|
| data-style-declaration | width: calc(100% - 100px); left: 50px; |
In the following example, the element's font-size is set as clamp(20px, 5vw, 50px) . This means that the font-size will be set at 20px , until the computed value of 5vw becomes greater than that of 20px . At this point, font-size will be set at 5vw , until 5vw 's computed value becomes greater than that of 50px . At this point, the font-size will be set at 50px . clamp() allows you to set a minimum and maximum value.
| key | value |
|---|---|
| data-style-declaration | font-size: clamp(20px, 5vw, 50px) |
