I am not sure how well this will work or if there is a better way. But so far it is helping me.
I often want to copy an element or javascript that I created or wrote at some point but for the life of me cannot remember what project it was in
So I have started a Library project which I can add each element or javascript to.
For example I have a load of form fields I made.
So in the Library I have a scene named Forms which I can add any form I want to copy and past to another project.
The same with Shapes and so on… Each scene is for a type of element.
I can also add any text along side the element explaining any special setup i.e if it needs a particular javascript.
I also make sure the display name of each element is descriptive as to what it is.
The Javascript are just added and comments added to explain them.
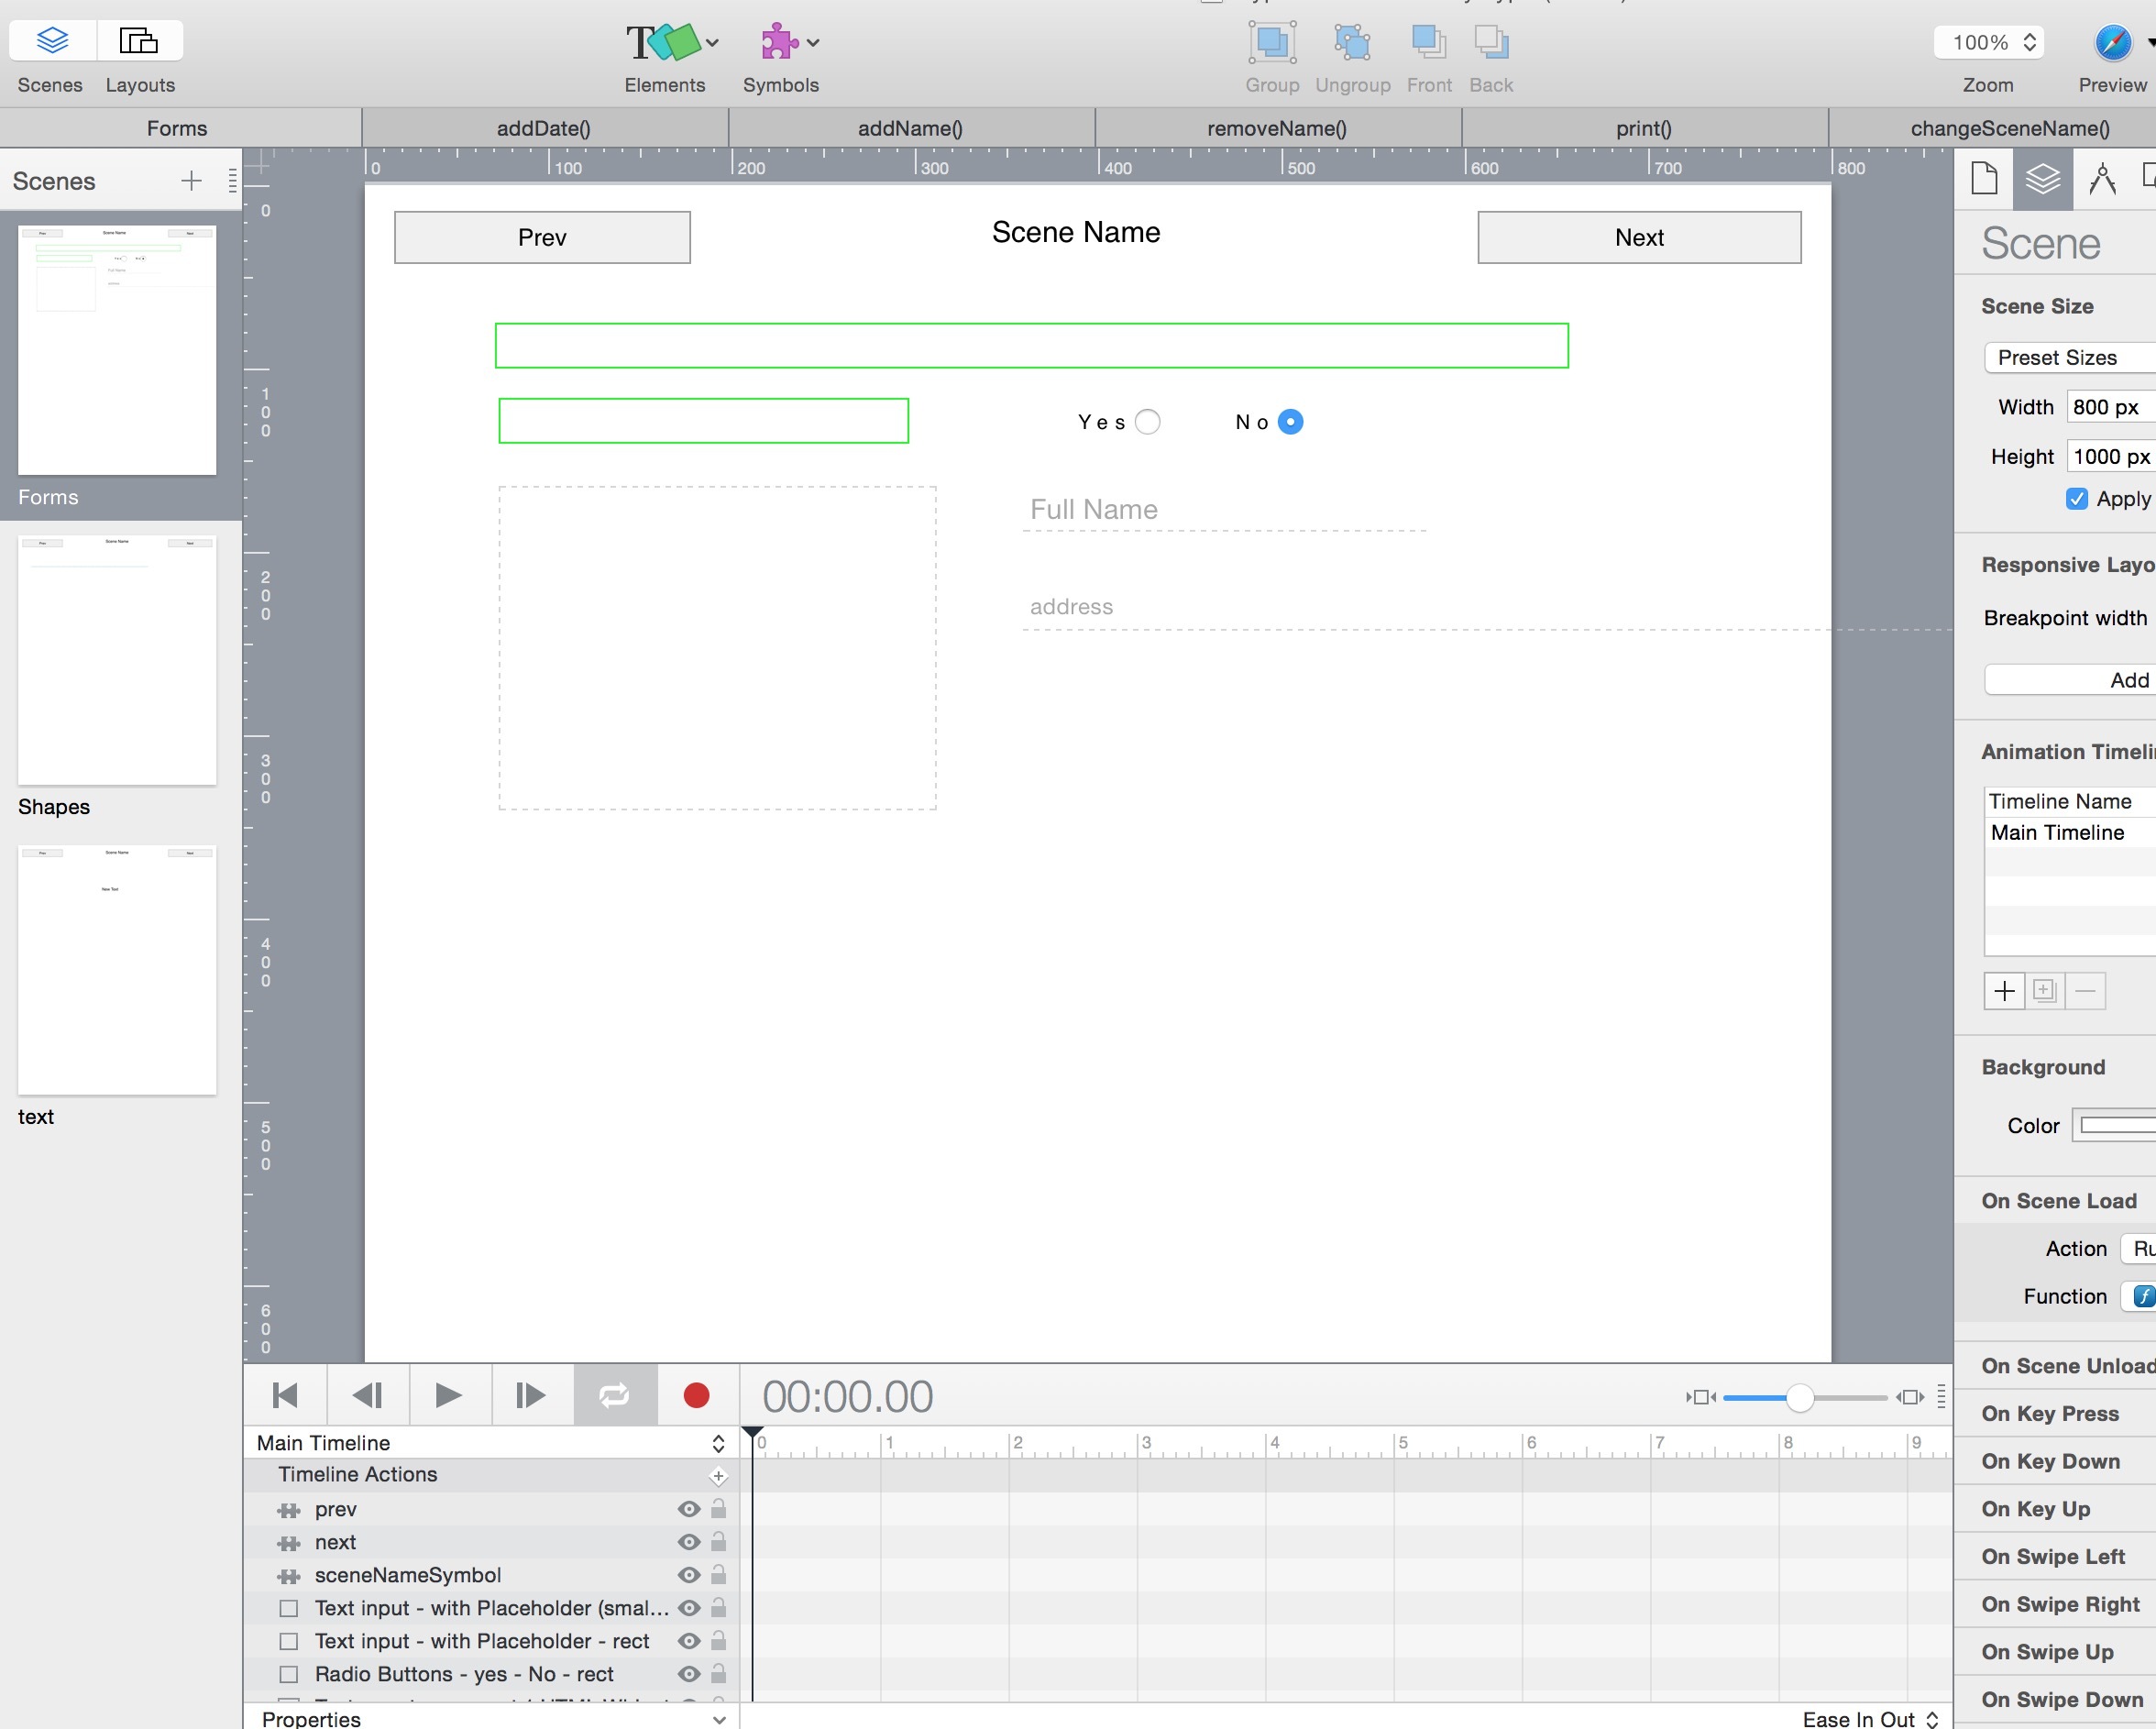
So what I get is a normal looking Project.
With the Javascript Library names at the top, the Elements listed and displayed. And I can preview and browser in the Browser if I want. Which also means I can have some of the elements that use javascript functioning for demo purposes.
The Library Project is also using my simple navigation setup which allows for the scene names and prev and next buttons to be automatically renamed on each scene.
I have not added timelines yet but do not see why not as the actions etc. can be copied and pasted in the same way elements can.
This is cool Mark. One issue tho, when I add a new scene the “Scene Name” field seems to get the name of the previous scene (“Test” if added at the end).
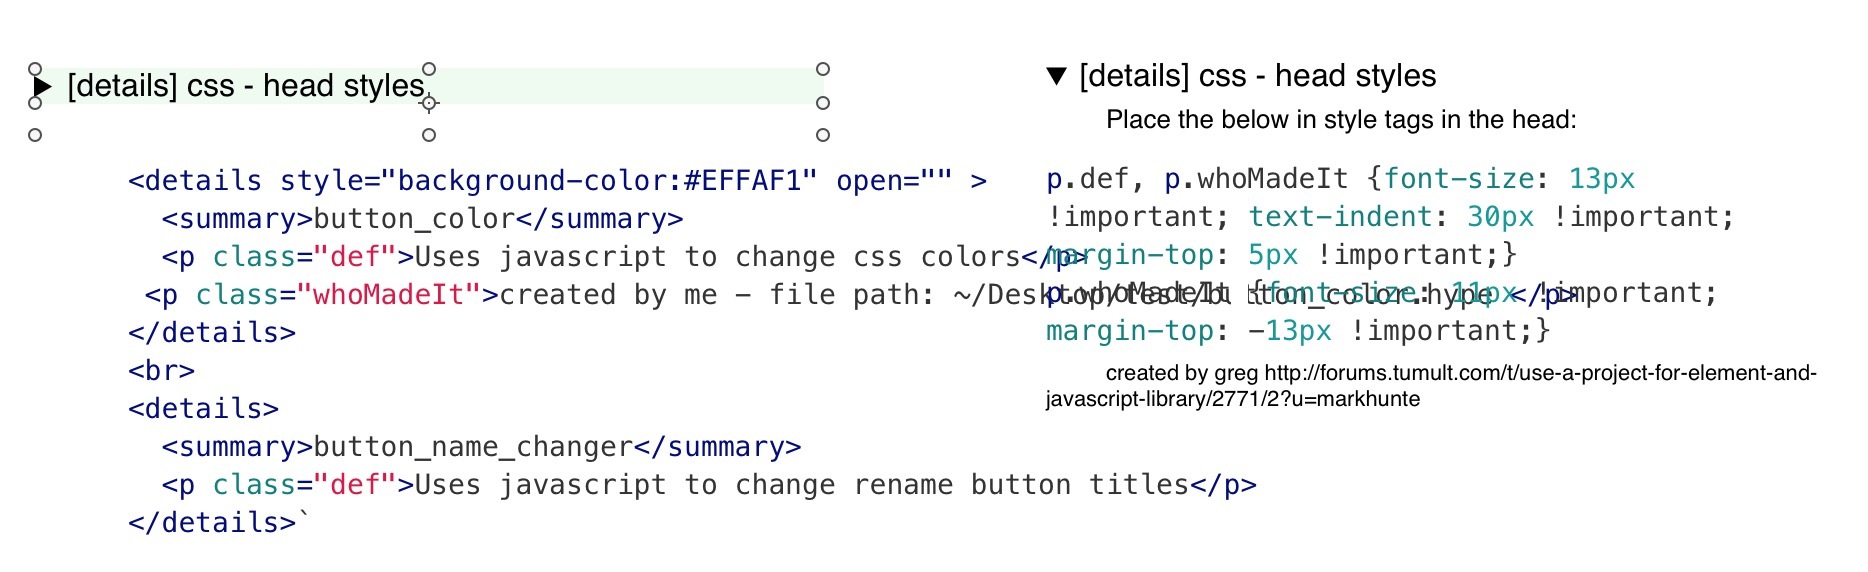
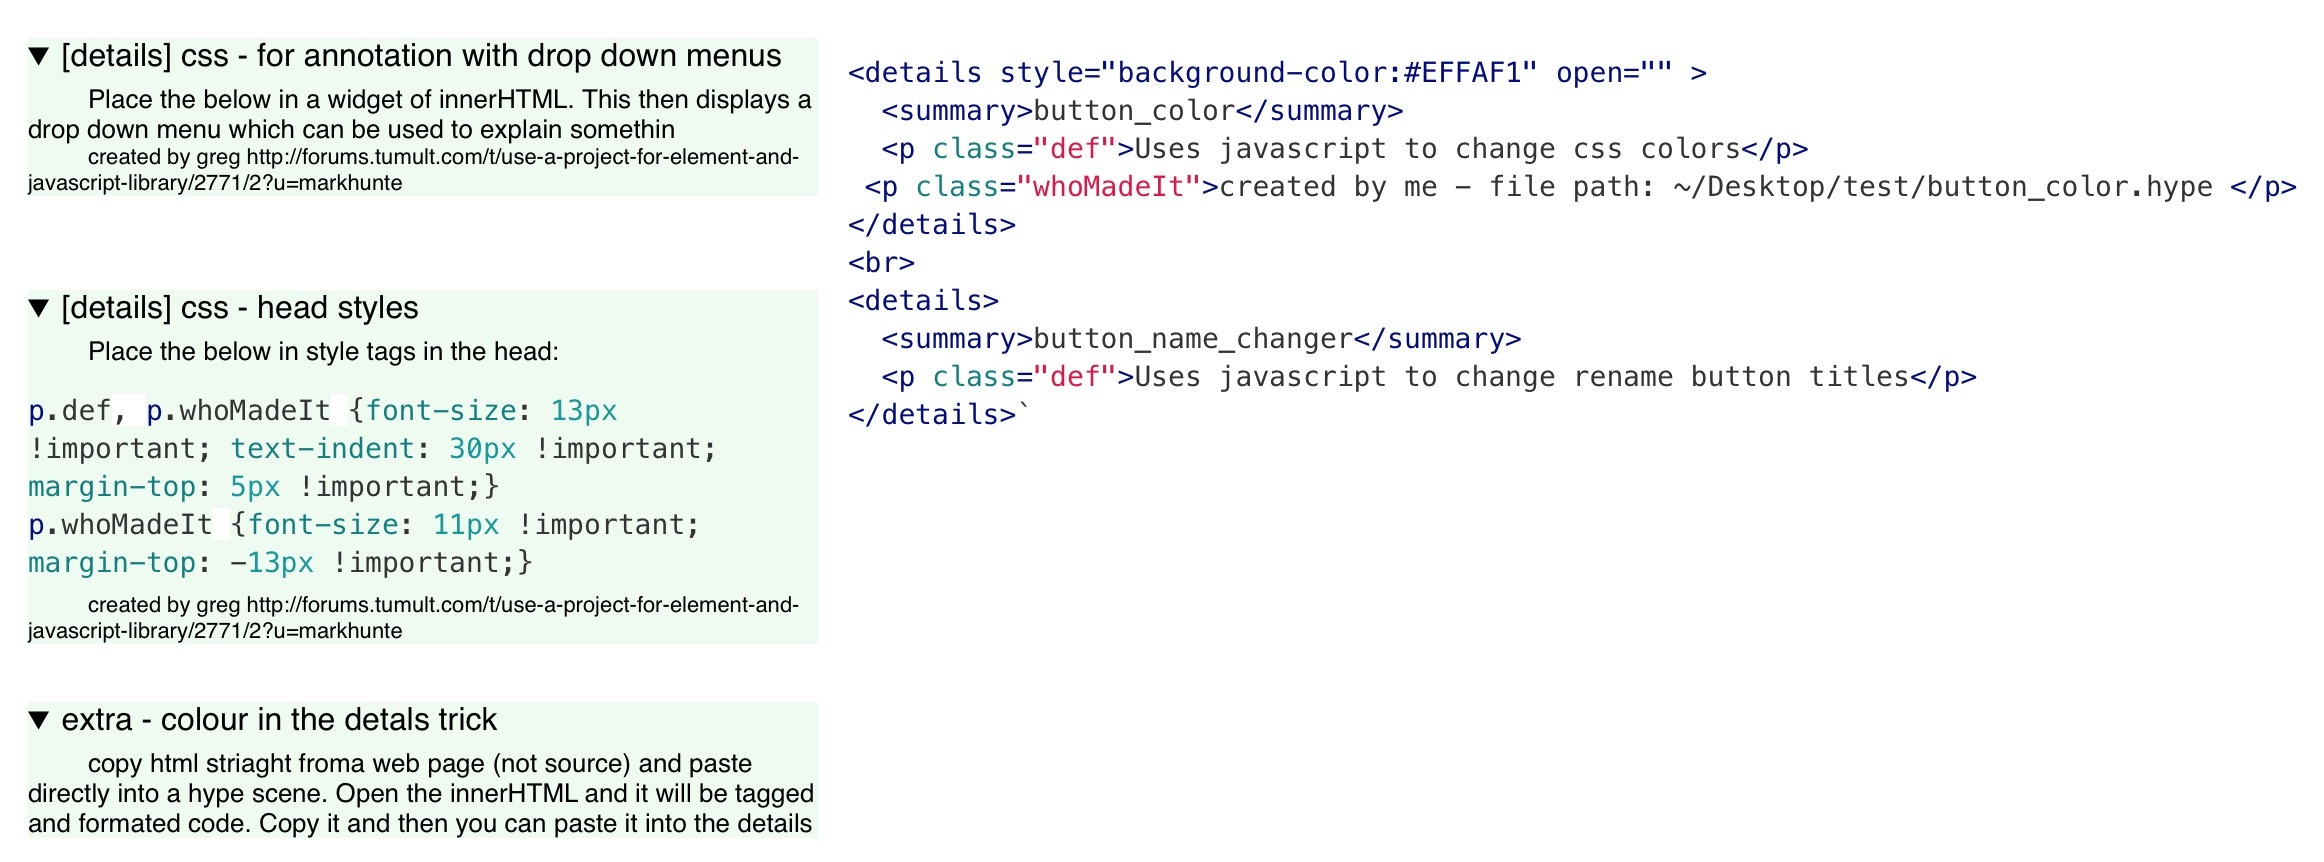
Anyhow, I added a new scene and used the css ‘details’ tag to add file names and a short description of that file.
<details>
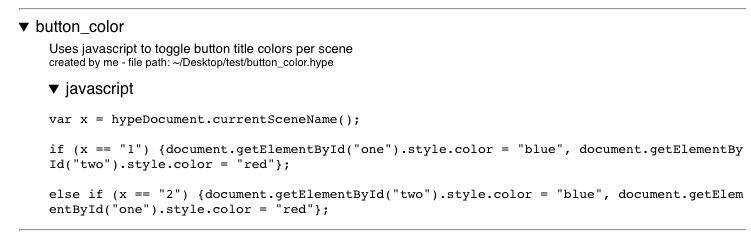
<summary>button_color</summary>
<p class="def">Uses javascript to change css colors</p>
<p class="whoMadeIt">created by me - file path: ~/Desktop/test/button_color.hype </p>
</details>
<br>
<details>
<summary>button_name_changer</summary>
<p class="def">Uses javascript to change rename button titles</p>
</details>``
Ah, you’re talking about the simple nav. Each time you add a new scene you just need to set it’s scene onload to run the changeSceneName() function I will update that page to explain better.
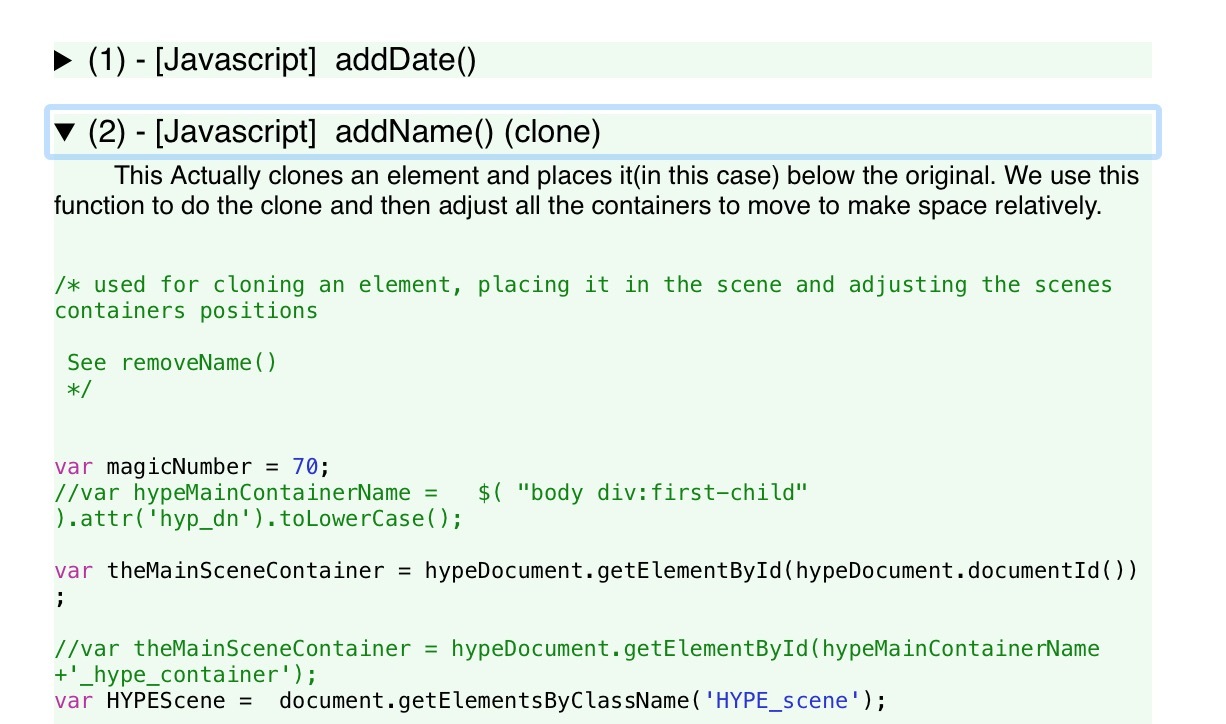
Along with adding the actualJavascript functions the library, I am going to also add them to their own scenes using the details tag.
For the colour in the [details] Javascript code;
I am pasting the code example in to a document that is open in Xcode ( extension =.js) , copying straight out ( once it has been colourised by Xcode and pasting onto the scene. I then copy the innerHTM of freshly pasted code element. Which gives me it back in html tagged and css formatted text.
I can then just paste it into the [details*]. I do not need the original pasted code element so I can delete it from the scene.
UPDATE
For the Xcode colour trick. If you do not have Xcode, you can use Script Editor. Open a new doc and set it to use Javascript syntax. Paste the code into the doc and compile it. Then copy it from there once it has colourised and past it into your hype scene. Open up the innerHTML of the pasted code element and click once in the text. Then copy the html.
Paste that into your [details] this will give you the coloured code example…
This all means I can have working JS in the Library and a browser eversion. It probably means I can link related elements to it.
Some of the scripts are long and may go of the end off the page. So Each [details] element has the on drag-> Control Element Position enabled. I can then drag the [details] any where on the page. I really like this.
But one problem with the is with the drag control on, you cannot easily select and copy the the code.
My solution is to run the below function on the Javascript Library Scene’s on load. And place each javascript code example in the [details] within a div with the class name " copyDits" and a unique id
The code will apply the on double click function to all of them.
When I single any [details] they open and close as normal. If I double click on the code example within, a popup will appear with the selected code ready for me to copy.
As I am typing this I may actually change that to run time line or some how change the drag properties to off for a short duration. Allowing me to select and copy before it reverts to drag control.
UPDATE: the code below now selects the code example div’s text on double click.
So even if you do not use the drag control like me, this is extremely handy for selecting only the code example text.
		var theClass = document.getElementsByClassName('copyDits');
		 //console.log(theClass);


		for (var i = 0; i < theClass.length; i++) {

		theClass[i].ondblclick=function(event) {

	var targ = event.target.parentNode.id;
	var r = document.createRange();
var w=document.getElementById(targ);
r.selectNodeContents(w);
var sel=window.getSelection();
sel.removeAllRanges();
sel.addRange(r);


   }

}
I have been actually playing with creating a search that finds Text and outlines them. Also takes you to the scene they are on. Made some progress but hit a wall today but will pick it up again. It is a spin off from that class and ID list template I did.