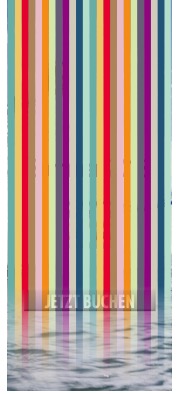
i need an animation with two elements. i have an image and on top of this there are some graphics elements. the animation should be like the attached image: from bottom to top. any ideas how i can make this?
Open the image in Photoshop, double-click on the layer to make it float. Click on the Add Layer Mask button at the bottom of the layers window, Set your foreground and background color swatches to the default black and white, select the layer mask (to the right of the layer itself), select the gradient tool, then hold down the shift key to constrain the direction to vertical, then drag the gradient tool to create a vertical gradient. You can then adjust the mask as desired. In the file menu use Save for Web and select PNG24 for the format. This will create an image that shifts from opaque to transparent. Save a copy in Photoshop format as well, in case you need to make adjustments later.
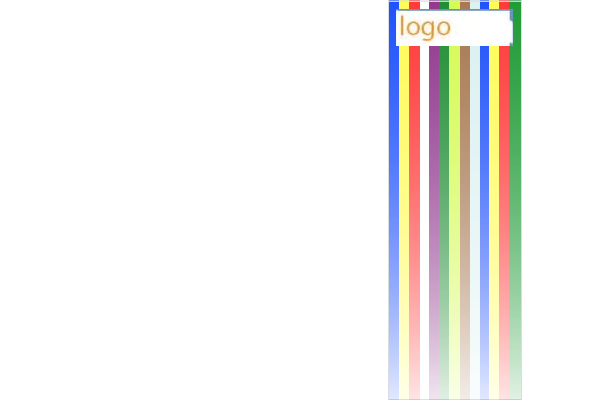
Trick for minimizing the dimensions of the file: Open a copy of the stripes file, change the canvas size to a few pixels tall and save it as a JPG. you can use this as an image fill for a rectangle within Hype. Set it to “Scale to fit”.
Open the Photoshop file that you used for the gradient. Click on the mask. Look in the Channels palette. You’ll see the mask channel. Drag the channel to the dashed circle icon at the bottom (the “load channel as selection” button). You’ll see the “marching ants” selection in the main layer. In the Selection menu choose "Selelct inverse) This will flip the selection so that only the pixels with an opacity of 99% and less are now selected. Now go to the Image menu and select Crop. This will trim the image down to only the pixels some degree of transparency. Output this as PNG 24.
In Hype, create a rectangle and fill it with the striped element. Place the trimmed PNG below it so that it touches. The result is an image file that looks the same but is only a fraction of the size if it had been one large PNG.
thank you for your explanation. as i said, my english is not good and i’m not sure if i understand your workaround. i will attach an image for better understanding. is this transition with your tipp feasible? if yes i ask a friend to translate your posting for me …
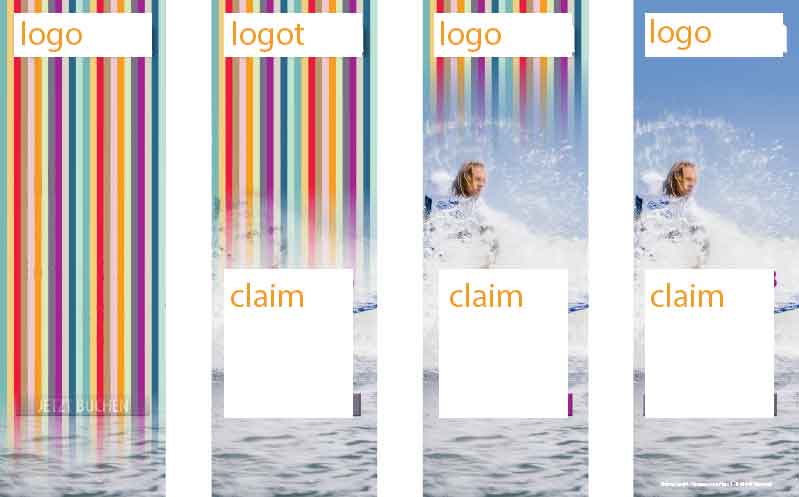
Here I have created some stripes. ( use your own ).
I then place the stripes out of scene but right above the background image.
I also done multiple layers of the strips to give colour depth. But again up to you.
There is a white background rect also behind the stripes.
All this is because we now set the depth of Reflection on the stripes and opacity on the white background rect on a a Timeline.
Here are the separate parts, assembled in Hype, along with the Photoshop file of the fade.
Note that with “Save for web” Photoshop sometimes likes to sneak in color profiles that can cause a mismatch between JPEG and PNG output. The easiest way to fix this is to use the drop-down menu to set the color profile to “monitor color” and make sure that the checkbox for sRGB is not checked.