Here's a method for selecting font-weights in Hype after you've added your Typekit CSS kit to your page.
If you want to jump to the solution: use a class .fw100 { font-weight: 100 !important } and set this in Hype's Identity Inspector. Read on for more info and a helper CSS file to make targeting these font-weights easier.
Setting up your Typekit Font + Selecting Weights
First, select your font and 'activate' the weights you want. Here's a guide for comparing the numeric values with words like 'thin' and 'bold': font-weight - CSS | MDN
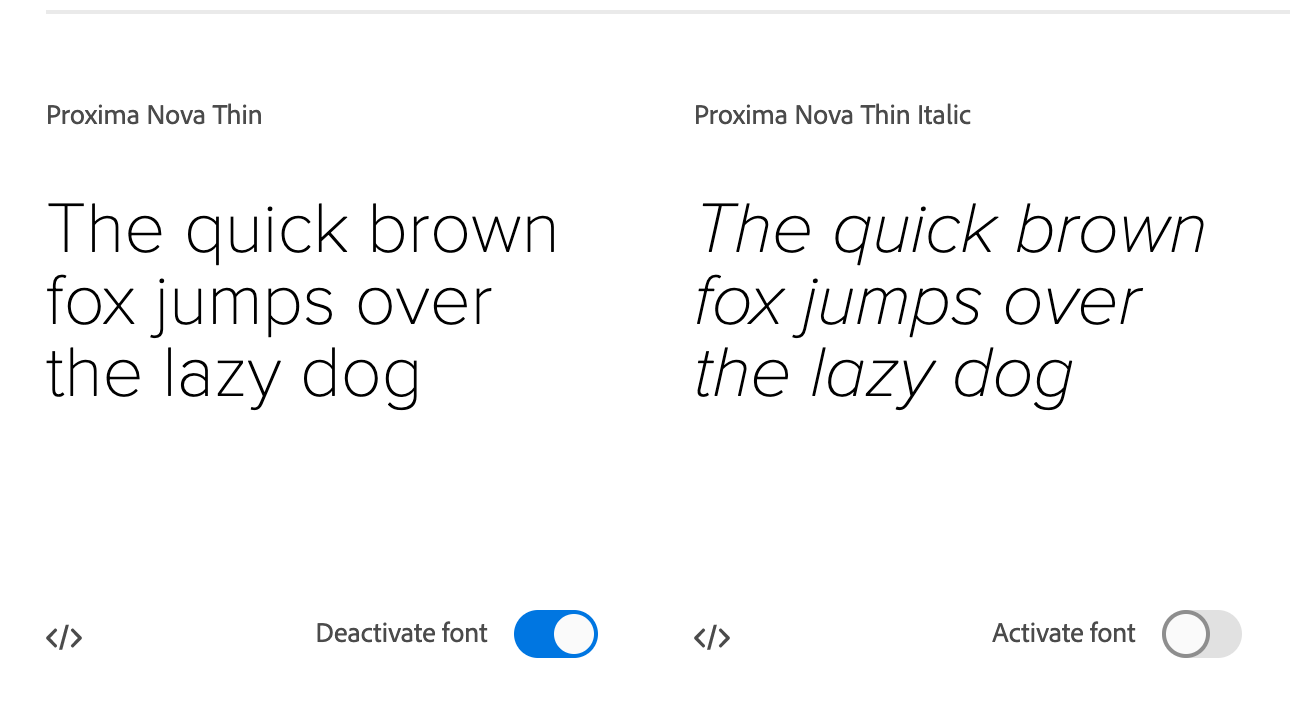
Once you choose your fonts + weights in Typekit, you can then get a quick chart of what you're downloading from Typekit's servers:

We know we have these variants enabled for this specific proxima-nova font family:
- 100 / thin
- 400 / normal
- 400 / italic
- 700 / bold
- 700 / bold italic
Adding the Font-Family to Hype
We can now add our CSS URL to the <head> of your Hype document. You can edit the contents of the <head>…</head> of your exported .html file by clicking on 'Edit HTML Head' in the Document Inspector.

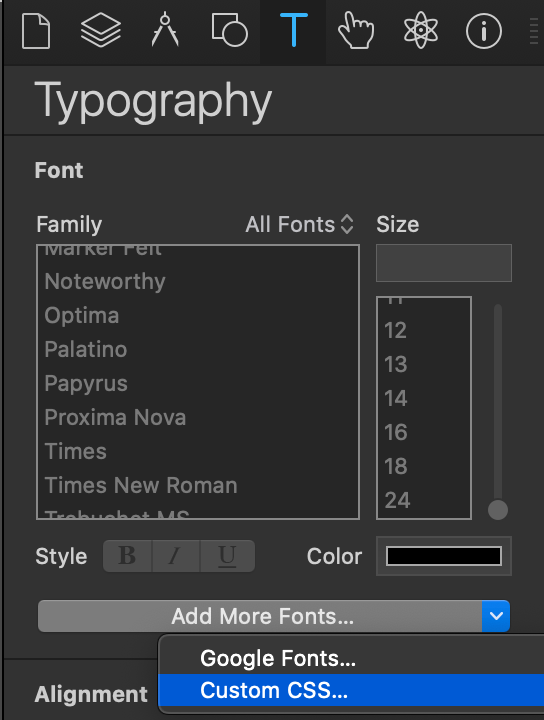
Next, switch to the Typography inspector and click 'Add more Fonts' and select 'Custom CSS'
... And Add your @font-face
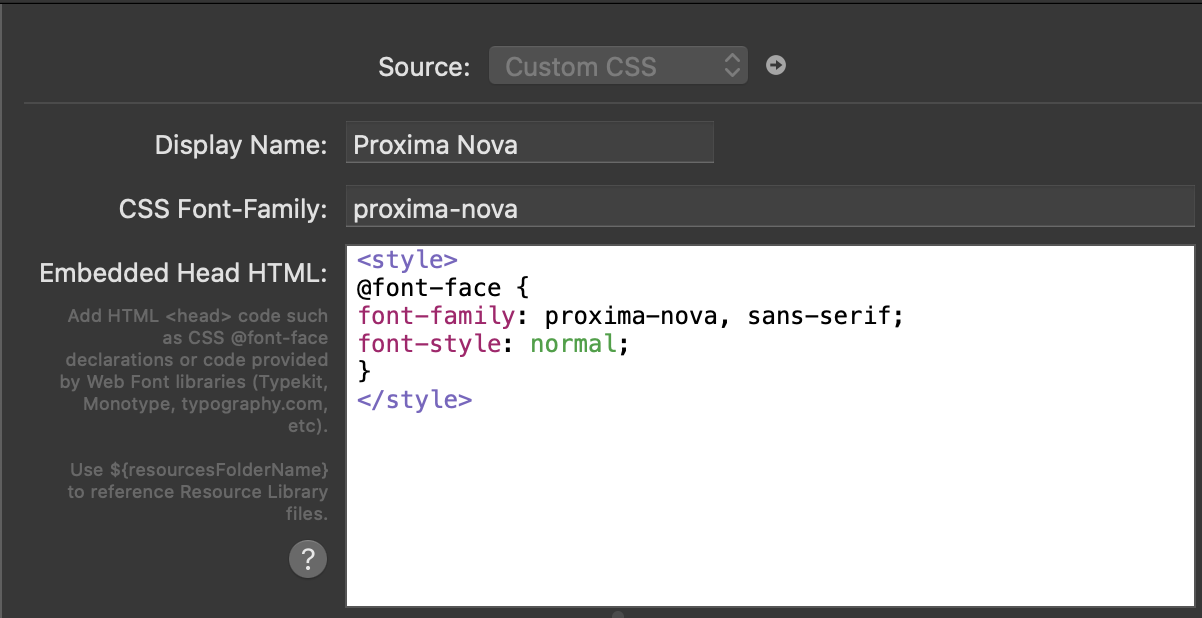
This will be the only custom font we need to add for Proxima Nova. In most cases, you will have multiple fonts downloaded from Typekit, but you will only have a single CSS URL. If you only have one Typekit font, you can definitely add your CSS URL above your <style> tag if you want.
Ok now we can use Proxima 'Regular' (aka font-weight 400) anywhere in our document. We can also bold, italic, and underline by just selecting those buttons in the Typography inspector. When we want to start using our other font-weights, we need to use classes to assign Font-weights.
Font-Weight Helper CSS
The CSS below can be copied directly into the <head> of your document, or you can add it as a .css file to your resources library. All it does it tell anything with this 'class' to DEFINITELY be a certain font-weight.
<style>
.fw100 {
    font-weight:100 !important;
}
.fw200 {
    font-weight:200 !important;
}
.fw300 {
    font-weight:300 !important;
}
.fw400 {
	/* note: this is 'regular' and typically doesn't need
	to be applied */
    font-weight:400 !important;
}
.fw500 {
    font-weight:500 !important;
}
.fw600 {
    font-weight:600 !important;
}
.fw700 {
    /* note, this is the same as selecting 'bold'
    in the typography inspector so is also not required */
    font-weight: 700 !important;
}
.fw700 {
    font-weight:700 !important;
}
.fw800 {
    font-weight:800 !important;
}
.fw900 {
    font-weight:900 !important;
}
</style>
(Or use this URL to load this helper in the 'head' of your document':
<link rel="stylesheet" href="https://gitcdn.xyz/repo/themorgantown/8cb58cb8be685f8bf816424596d0b12f/raw/7a80cf896c996f28f144acea7b11af9b48057bb1/font-weight-helper.css">
Once this is in place, you can add fw100 to any Hype element and text within it will become 'light'. And a class of fw900 will be extra bold. If you don't see the correct weight when applying a class, double check that you have that weight published in your Typekit project.
Demo Hype Document
You can see this in action in the attached Hype document: FontWeightTest.hype 3.zip (1023.9 KB)
Another method for accomplishing this can be found here: Typekit tutorial needed - #4 by CCG
In this method, the individual font-weights are paired with the font-family.
.arponaLight {
font-family: arpona, serif !important;
font-weight: 100 !important;
font-style: normal !important;
}
The terminology around 'Thin' 'Light' is not a super-defined standard, but this is a good reference:

Interspersing Font Weights in Text
If you want to use font-weights inline in your CSS, the format would be:
This is my regular text <span style="font-weight: 700">this text is font-weight 700</span>
Or if you have the helper enabled, you could also use:
This is my regular text <span class="fw700">this text is font-weight 700</span>