When you export your Tumult Hype document and generate an HTML file, your first scene’s background color defines the color of your document. Below are a few ways to tweak the color of your document or replace that background color with an image:
Changing the Color of your Scene
To change the color of a specific scene, select a color from the Scene inspector:
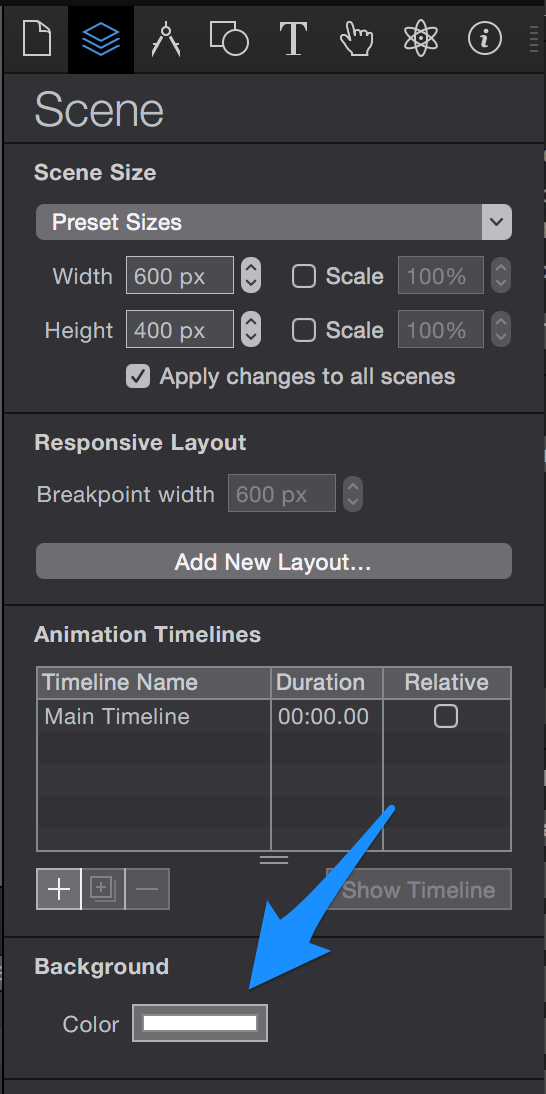
The color of your first scene defines the color of the background of the exported .html document generated by Hype.
Changing the color of the background of your .HTML file
To modify the color of the .html page outside of your Tumult Hype document, you’ll need to edit the ‘head’ of your document. You can edit the contents of the <head>…</head> of your exported .html file by clicking on ‘Edit HTML Head’ in the Document Inspector. The content added in this area will override any styles (like the background color) set by default.
By default, these styles are added if your scene color on your first scene is white (the default):
<style>
	html {
		height:100%;
	}
	body {
		background-color: #FFFFFF;
		margin:0;
		height:100%;
	}
</style>
To change that color, add the following to the ‘head’ area of your Hype document. Since this CSS code is added after the exported .html code, it overrides that value:
body { background-color: red; }This page has a list of colors.
Removing all backgrounds
Please note that iBooks author widgets cannot be transparent. They will always have a white background when the widget has been loaded.
To remove any scene or document backgrounds, check ‘Make background transparent’.
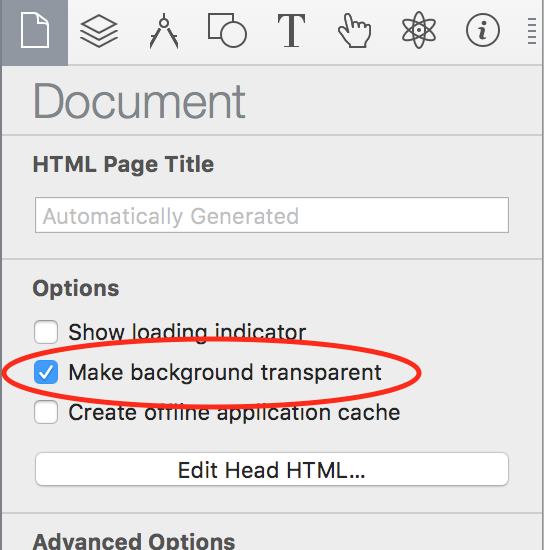
Next, add the following CSS to the ‘head’ of your document in the Document Inspector:
<style>
body {
background-color: transparent;
}
</style>
Using an Image for your Background
Keep in mind that you can change the background image of your scene directly in Hype in the scene inspector – the instructions below sets the background for your entire .html document.
If you want to use an image for the background of your .html document, you’ll need to use the background-image property. First, drag your image into your resource folder. This will make it accessible by inserting the ’ ${resourcesFolderName}/’ variable.
<style>
body {
   background-image: url('${resourcesFolderName}/image.jpg');
}
</style>
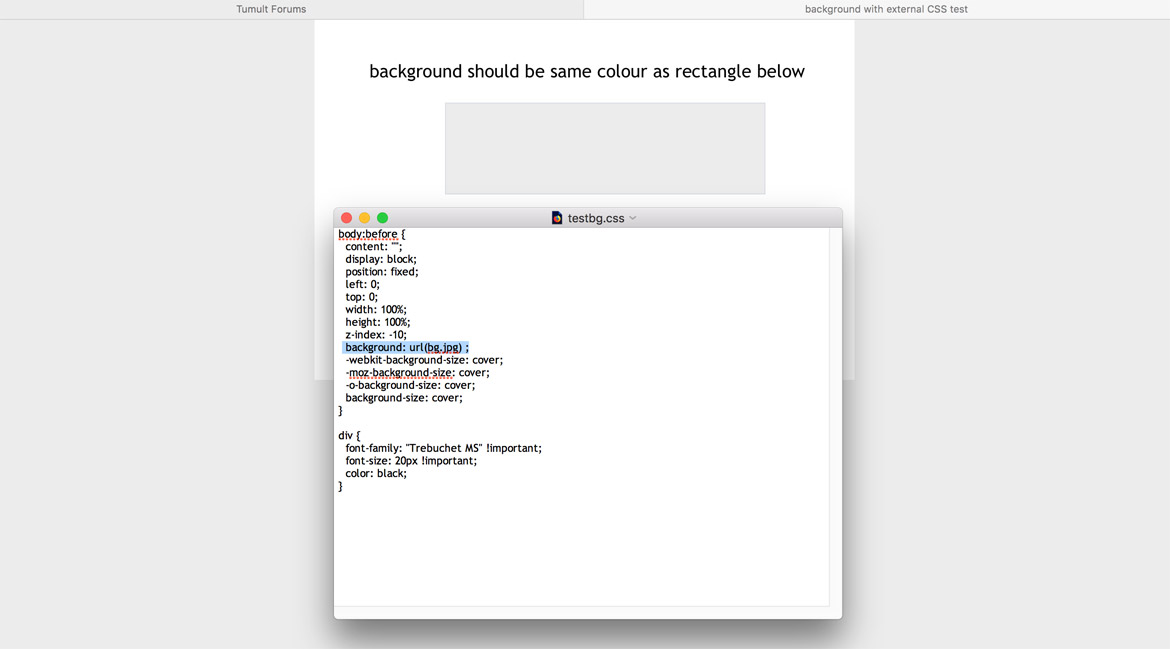
Full Page Background Image
A common request is how to set an image to spread across the entire background of the page responsively. The CSS below also uses the ${resourcesFolderName} variable explained above, and is adapted from this URL: https://css-tricks.com/perfect-full-page-background-image/.
<style>
html {
  background: url(${resourcesFolderName}/background.jpg) no-repeat center center fixed;
  -webkit-background-size: cover;
  -moz-background-size: cover;
  -o-background-size: cover;
  background-size: cover;
}
</style>