There are a couple ways to use the natural transparency in your Tumult Hype documents in other video editing programs. You can either export as a frame sequence (this is easier) or use the Chroma key function to remove a specific color. This guide shows both methods in Premiere Pro.
Note that most video applications support importing PNG frames, so this is the preferred method of getting your Hype document (at maximum resolution) into your After Effects, Premiere Pro, or other video editing application.
Export as Transparent PNG Frames:
This Demo document is ‘Namasketch’ from our gallery
-
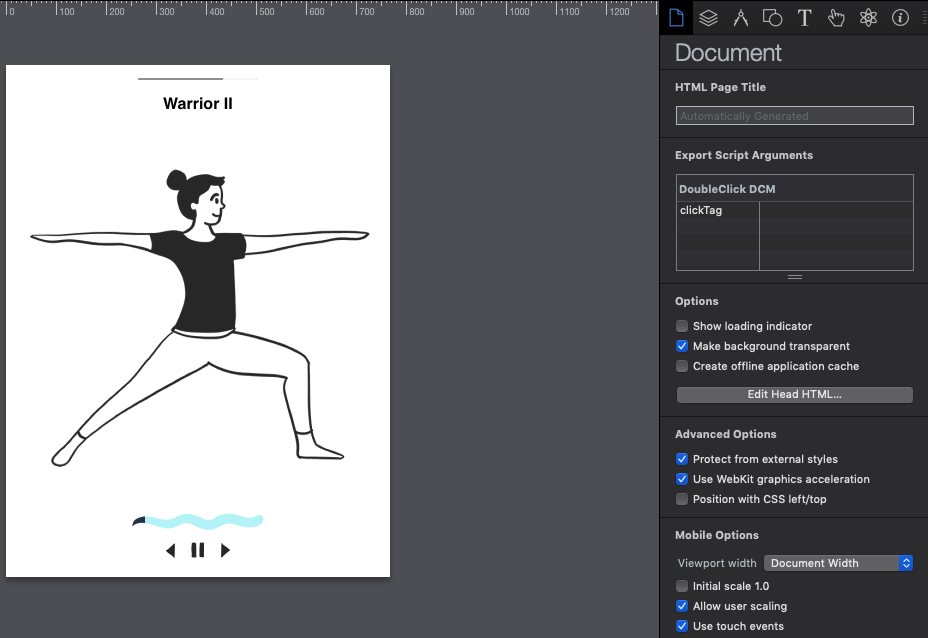
Make sure images you import have the correct transparency. You can see what images need to be fixed up by changing the background color. To get a transparent export, you’ll want to set the background to be transparent:

-
In the Document Inspector, check ‘Make Background Transparent’
-
Export your animation as frames by selecting File > Export as Movie > PNG sequence. Choose a 30fps framerate, or whatever the frame rate of the project you are importing into.
This gives you a set of (possibly hundreds) of PNG frames with transparency.
In Adobe Premiere Pro CC:
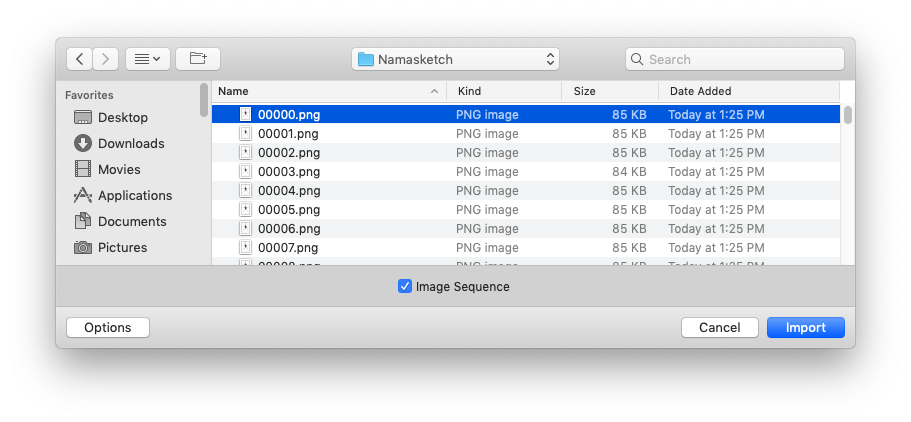
The first step is to import these frames and create a new clip:
- Go to File > Import…
- Select file of the first frame.
- Click the Options button in the lower left.
- Click the Image Sequence box.
- Click Import.
The Premiere Pro default frame rate is 29.97, so exporting at 30fps from Hype is fine. To change the frame rate:
- Right-click the clip in Project pane.
- Go to Modify > Interpret Footage .
- Click Assume this frame rate .
- Enter a frame rate and click OK .
This quick process will let you use your Hype animations as video titles, animations in films, or anything you’d like 
Option 2: Chroma Keying
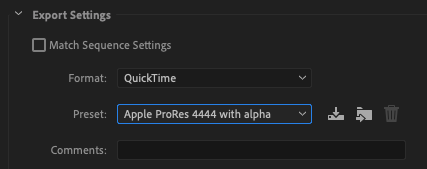
This process involves exporting a video from Hype (preferably in a high quality, Prores format) and then removing the color. This technique is a bit more involved than the above.
Choose a bright green that doesn’t appear anywhere else in your document as your scene’s background color. Export using the highest quality video at the framerate you use in your Premiere project. Add a new effect to your document called ‘Ultra Key’.
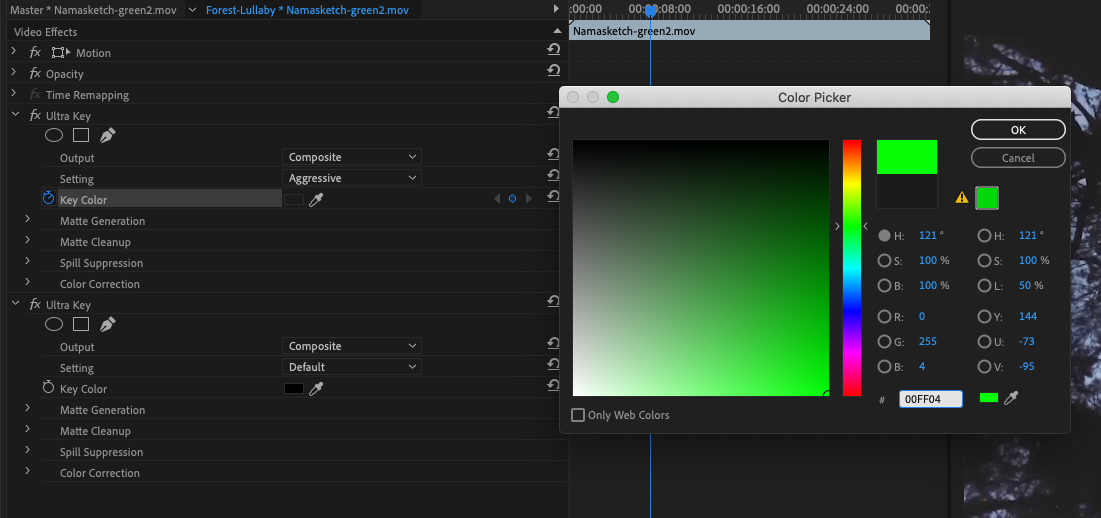
When choosing your ‘Key Color’, you can use the exact hexadecimal color selected in Hype:
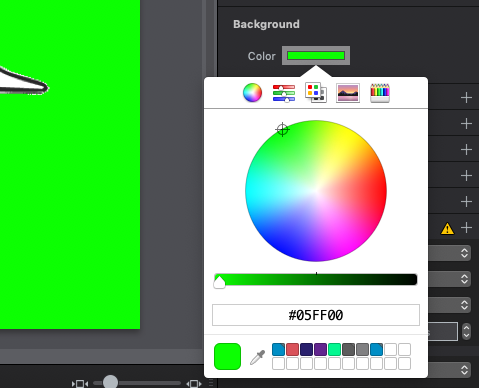
In Premiere, you would click the Key Color color well, and input this same value:
If you find you have some rough edges, you can increase the ‘Matt Cleanup’ / Choke value to a higher value.
In Final Cut Pro:
The process is nearly identical. Here’s a great guide for removing a specific color: https://filmora.wondershare.com/final-cut-pro/chroma-key-green-screen-in-final-cut-pro-x.html & official documentation here: https://support.apple.com/guide/final-cut-pro/use-chroma-keys-ver40b003bc/mac