One of the things I notice if we do the transition with the above symbols is we lose the gradual opacity transition effect when doing it exactly as @jonathan suggests gives, by just setting the starting fill colour to 0 opacity and then use the keyframe properties to transition it to another colour.
Doing it Jonathans way is very simple.
I went the root of code, mainly because, well that is what I like to do but also I wanted to give some general options on a single symbol, which for me would be more useful.
This second version I guess is even more of a hack and if anything will show ways you can mess around with css, hype and javascript.
The new version allows for a start and/or end colour transition.
It adds css to the head file, that now gives a similar gradual opacity transition effect to the native hype way.
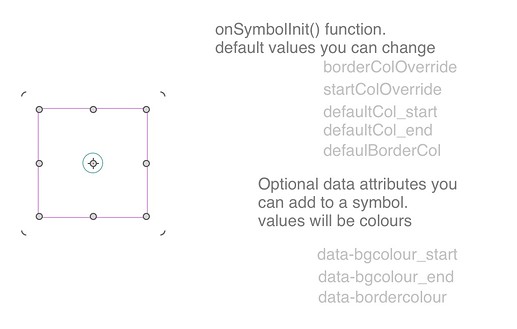
All colour data attributes are optional.
If no data attribute colour is given for a start, end or border the Default colours are used.
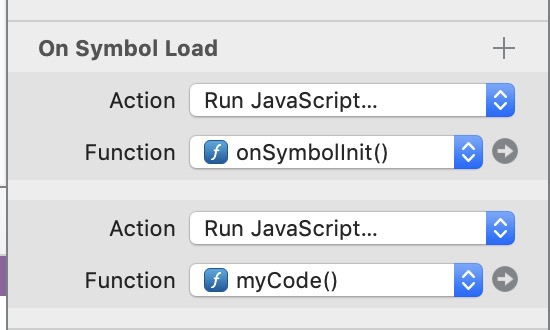
Default colours can be set in the onSymbolInit() function.
The start and border colours will not be overridden by the code if their override values are set to false.
var startColOverride = false
var borderColOverride = false
This allows for some ui control on defaults for the start and border colours.
i.e what you use in the Element Inspector.
If a data attribute is added then the startColOverride and borderColOverride false values have no effect. And the Element Inspector colorproperties will be overriden for these two.
The End colours will always be in effect. Either by the default or by the attributes.
If you do not want to start with a color , either set the attribute to transparent or set the default value for start to "".
The "" is equivalent to none. DO NOT USE transparent for the default use ""
The end default MUST be a colour, transparent is ok to use there.
(Do not to set the start and end the same colours, tansparent, "" or otherwise. This will make no sense and will not work)
again this is more a musing..
dotType_3.hype.zip (15.7 KB)
dotType3.hypesymbol.zip (43.0 KB)
Also as an illistration adapting this..
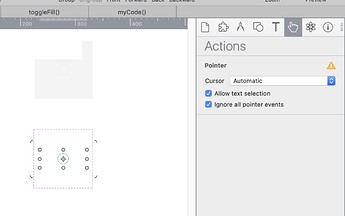
If I add a Text box to the symbol, and give the text box a class of textBlob
(note the ignore all pointer events)
And set any properties for the text on the timelines, like opacity timings.
I can then also add my then symbol function that will be called on Symbol load.
The function would contain
	var blob_text = element.querySelector('.textBlob')
 		var dotTextblob = element.dataset.textblob
 	 if (typeof dotTextblob != "undefined"){
 	  blob_text.innerText = dotTextblob
	 }

I could then give each symbol another data attribute and value to set the text for each.

dotType_3_extra.hype.zip (15.9 KB)


 . Basically symbol overrides (which has been a Hype feature request)