Simple Checkbox Component Example

This is an example of a component using the attributes panel to set the initial value.
In the long run it would be nice to include easy skinning and multiple components. It’s just a beginning. Your welcome to chip in…

Preview:
simple-component-checkbox.html

Download:
simple-component-checkbox.zip (Hype 4)

Versions:
1.0 initial release
1.1 simplified code and added more skinning examples
1.2 added multiple examples how to read out the dataset
1.3 added a Mutation Observer version
1.4 Fixes,simplified and allowed 'checked' attribute (applied initially)

4 Likes

Good idea :+1: to start using the html attributes in things like this now we can simply add them in the Hype editor.

An update to my checkbox symbol here doing that makes it less code.

Updated version
checkboxItem v2 .zip (79.4 KB)


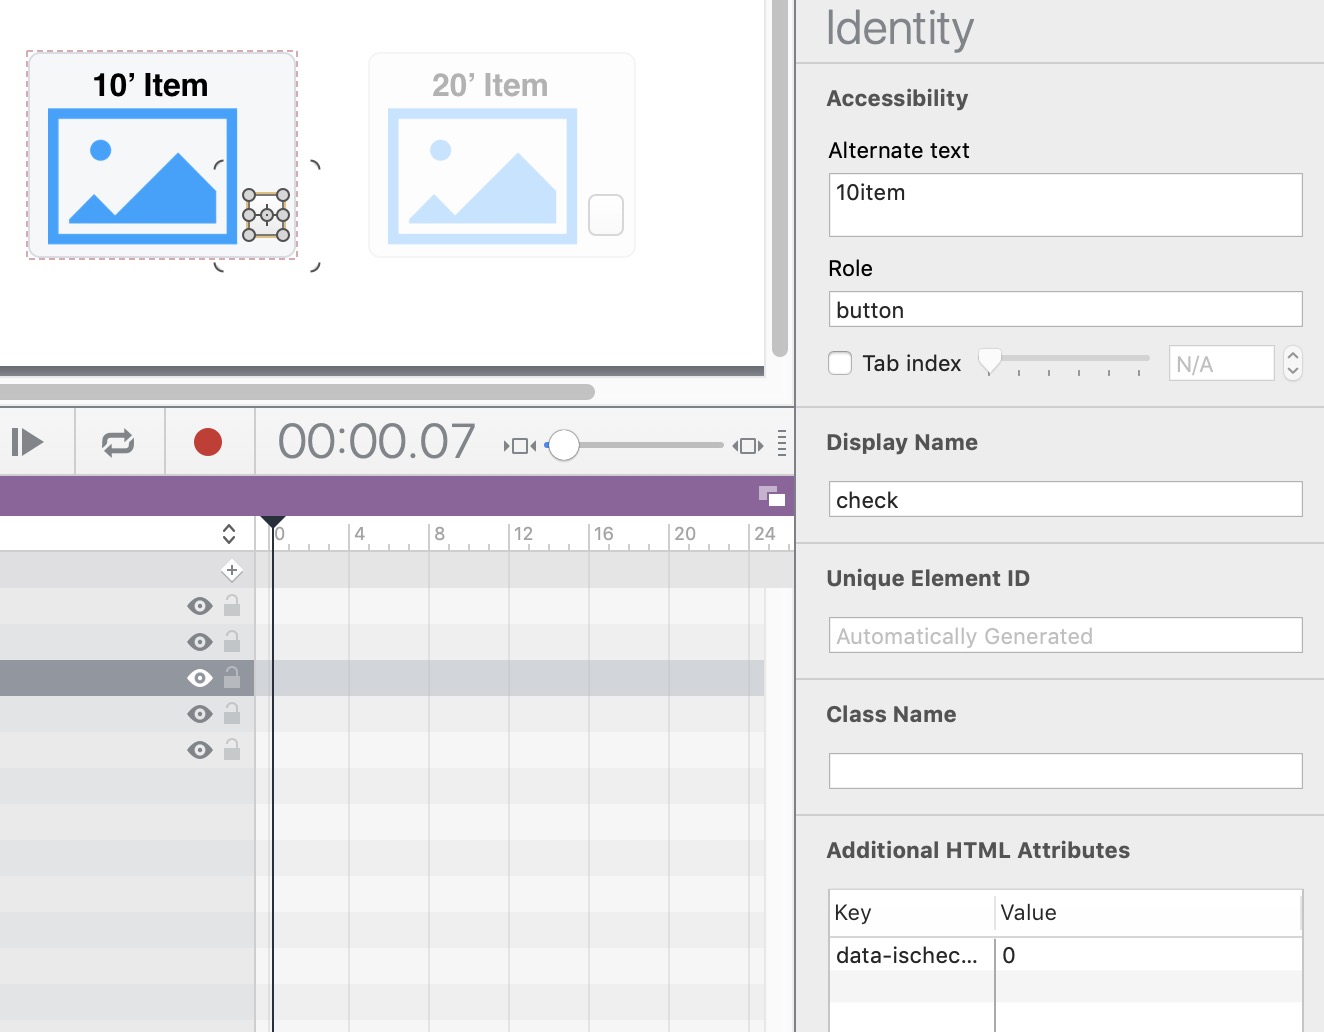
	var thisSelection = element.title //-- get the Title/alt Text of the checkbox group.
	var selectionTick = element.querySelector('.tick')//-- find the tick image for this symbol
	var selectionTickState = element.dataset.ischecked//   


selectionTickState === '0' ? (
    hypeDocument.setElementProperty(selectionTick, 'opacity', 1),
    element.dataset.ischecked = 1 

) : (
	
    hypeDocument.setElementProperty(selectionTick, 'opacity', 0),   
     element.dataset.ischecked = 0
);
1 Like

You can also use the attributes to get an array of selected items.

Give each symbol its own data attribute.

Then for example add a [submit] button to the scene that runs this code.

 var checkboxItems = document.querySelectorAll('[data-ischecked="1"]'); //-- Get all elements with ischecked equal to 1, i.e checked.
 
 var selections = [] // empty array
 
 checkboxItems.forEach(function(checkboxItemElement) {
 
  var thisSelection = checkboxItemElement.closest('[data-title]').dataset.title // find ancestor of this element that has a dataset = title.
  
    selections.push(thisSelection);
});
 
 
	console.log(selections)

@MaxZieb hope this is what you meant by chip in, I can move all this else where if it was not

2 Likes

Sure go right ahead. I though more along the lines of using the same codebase and developing it further but what ever works. It's true you can put as much info into these components as you need or want. It depends on the use case what has to be dynamic and what not. In case of switches I keep them simple for now.

↑ look at project
Version 1.1
Simplified code and added more skinning examples

2 Likes

↑ look at project
Version 1.2
Added multiple examples how to read out the dataset

↑ look at project
Version 1.3
Added a Mutation Observer version

1 Like

↑ look at project
Version 1.4
Fixes,simplified and allowed 'checked' attribute (applied only initially)

↑ look at project
Update
Added online preview for people without Hype 4 (although Hype for offers the free viewer mode now!
update: I fixed a mixup in the files. I accidentally uploaded an old version