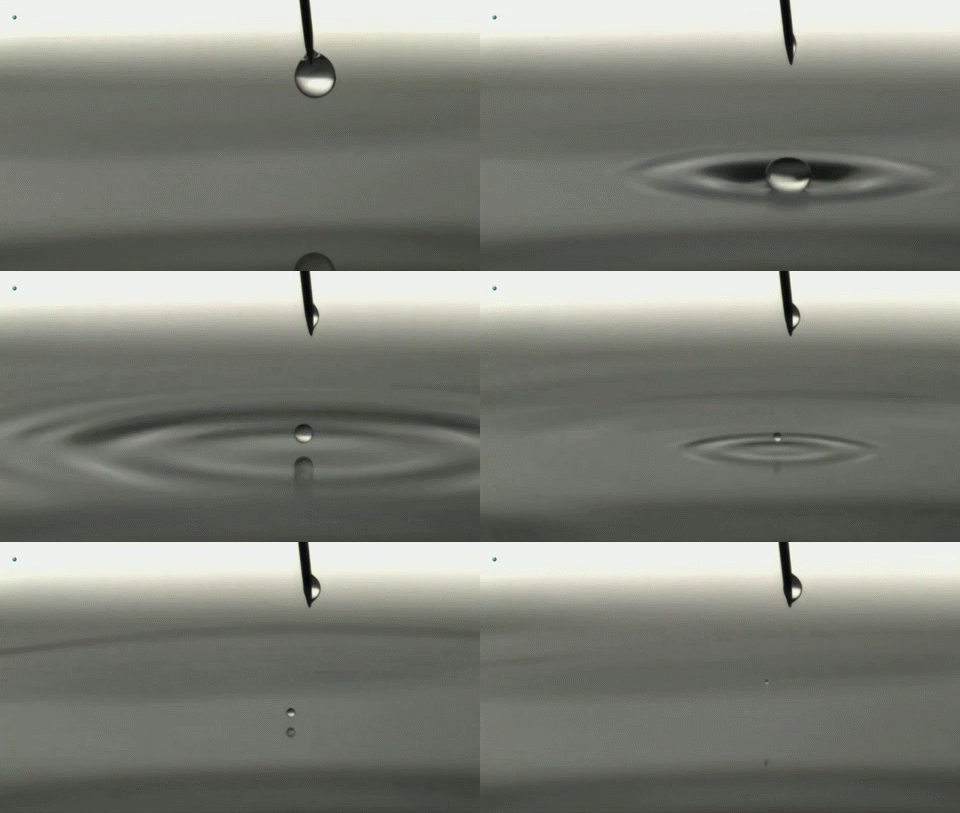
Hello,
I am trying to make a water drop, then water wave animation.
the most difficult part is the water wave animation, here is what I want to create or build 
Would you please let me know whether it is possible, thanks a lot.
Alex
Hello,
I am trying to make a water drop, then water wave animation.
the most difficult part is the water wave animation, here is what I want to create or build 
Would you please let me know whether it is possible, thanks a lot.
Alex
sry hype is the wrong programm for this …
Don’t know if your goal is to create photorealistic 3D animation, if so then yes you’d need a program specifically for that, Maya or something. But if your goal is to bring in some 2D assets and mimic that gif, then you can manually set keyframes like in this rough sample:

thanks!
I just want make a animation for website usage, I hope it looks like a real water drop effect, since the files size will be much big if use more GIF format.
Actually, I think it is possible if set the water background as black, and divide water, drops, waves into different layer, and the most difficult part is how to make waves animation with light.
Actually, the waves effects can be used to show an speaker effects, please view Apple sample at last row of Mac Pro:
Do you know how to make it please?
Alex

ExpandingWaves.zip (1.4 MB)
Another old school item:
It can be done. The hard part is the bounce of the droplet. for the expanding and fading waves, you would need to create a pair of PNGs in Photoshop – one dark and one light:
Create a transparent Photoshop document large enough to handle the maximum width of the wave when viewed from directly above.
Using a 400x400 document as an example, create a circular selection with a diameter of around 330 pixels. Save the selection as a channel as a back-up.
Create two new layers. With the selection active, give the top layer a 5px stroke. Give the other layer a stroke of 10 pixels.
Deselect and apply a 2px gaussian blur to the top layer a 5 px gaussian blur to the other layer.
Export the result as a png.
Turn off the lower layer
Create a new layer above the other two and fill it with white. Hold down the option key and click between the white and top layer to force the white to be applied to the layer beneath it.
Export the result as a png.
Bring the two pngs into Hype and align their centers. Select them both and use the Arrange menu to group them. Move the white ring beneath the dark ring and nudge it upwards so that it will peek through.
Use the scaling tools to make the circles expand over time and to fade over time, making sure to adjust the position of the two rings in relation to each other. Rotate the group on its X axis. Duplicate and offset the groups in time to create concentric waves.
You can use the brightness, opacity, contrast, and blur settings over time to adjust the strength and apparent thickness. The greater the expansion, the thicker and lower they should become. This can be done via blur and opacity.
I didn’t spend much time tweaking this. Playing with the various opacities will help.
Note that in terms of physics, the wave is higher and thinner towards the center and each iteration of the wave is increasingly thicker and weaker. it is possible to create multiple thicknesses and fade between them, but my suggestion is to make things as simple as possible - just enough to create the illusion.
For the bouncing droplet, I grabbed screen shots from your sample video. I placed a guide over the vertical center, took a small screenshot and trimmed it to mask the bounced water element, creating a short fade at the top, then aligned this over the image. To add a slight impression of reality, I superimposed the droplet over the water element to give it a flash of light, then transitioned between the two. Note that if you’re tight on vertical space, you can make these elements stretch and contract vertically rather than move vertically.