Draw a simple cartoon face with Hype Elements

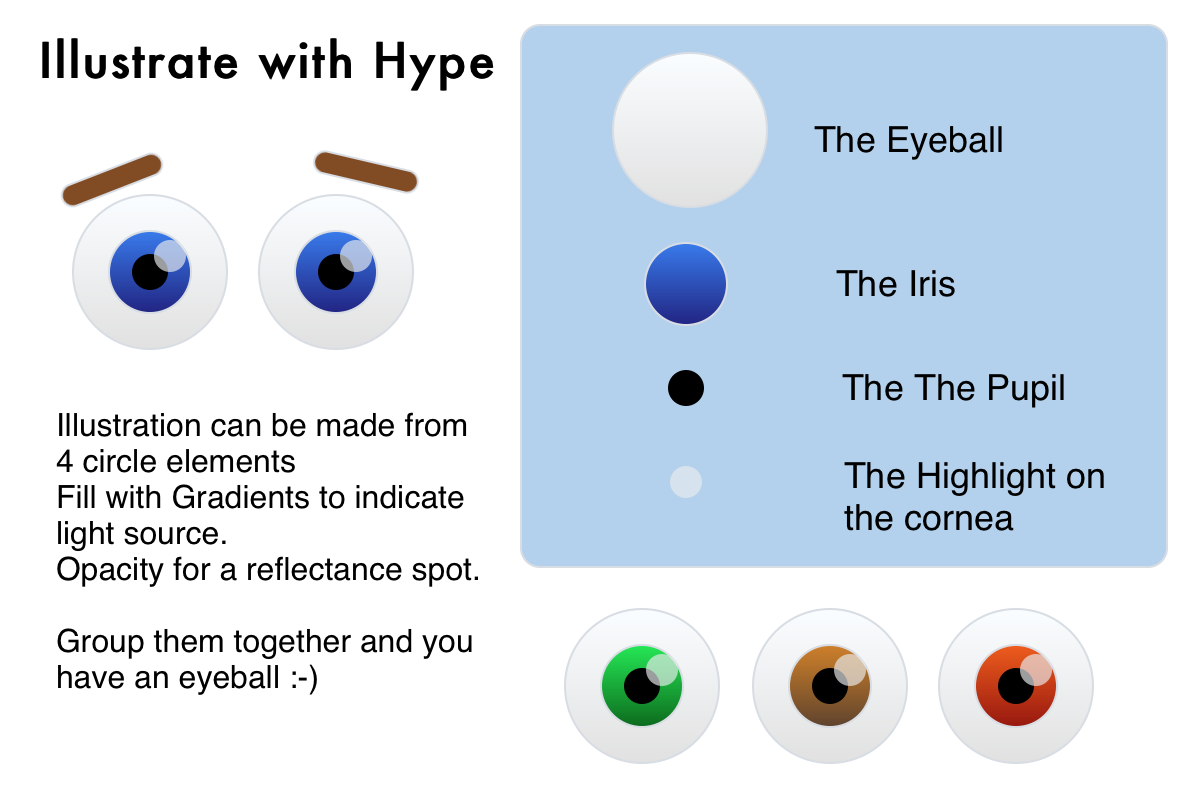
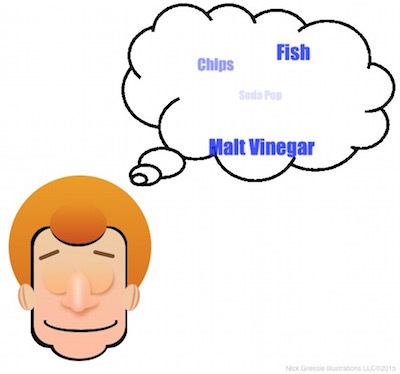
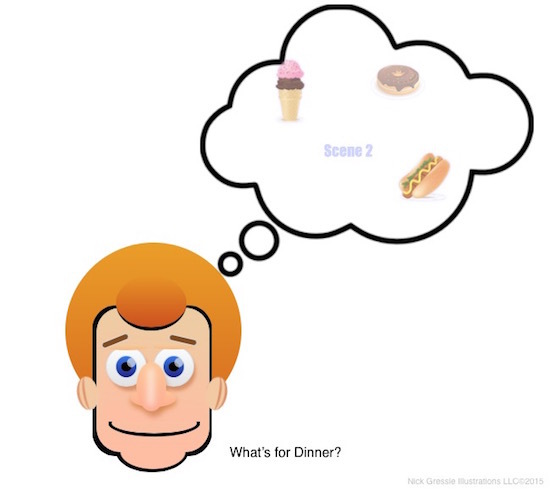
Hype’s basic shapes are great for doing simple and not so simple illustrations if you want to give it a try.
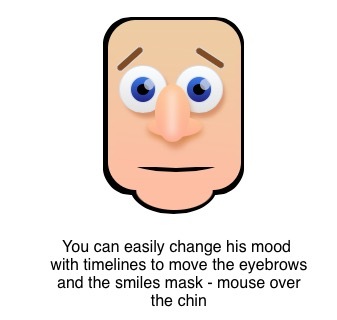
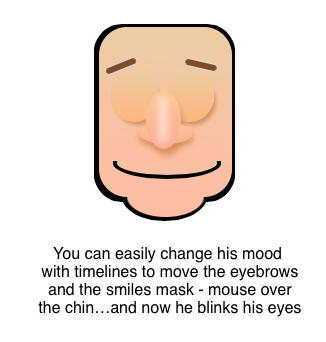
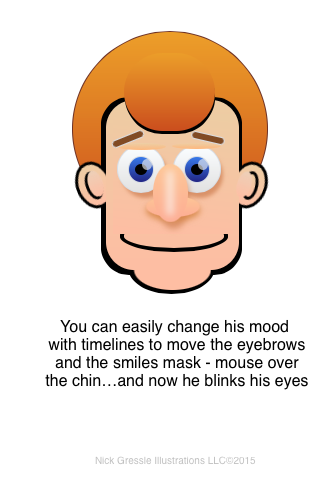
Here is a hype file that you can dissect to see how you can make a very simple cartoon face.
http://gressle.com/drawface.html

drawface.hype.zip (397.0 KB)

4 Likes

Awesome Nick, great tutorial.

1 Like

You could also animate the pupils/irises…
eyes.hype.zip (45.4 KB)

4 Likes

I love that Greg, really good :smile:

2 Likes

Nice!! Love it! Keep going!
I wonder if our animations could be controlled by voice input too…now that would be really really neat!:slight_smile:

Google Chrome you can do voice recog, but other browsers are not there yet. We are looking at another 6 - 12 months before all introduce the API :frowning:

Set some timelines to change his mood…
drawface_Mood.hype.zip (26.1 KB)

2 Likes

That is so cool!!
I added an eyeblink now :smile:
drawface_Mood_blink.hype.zip (27.8 KB)

2 Likes

Dude needed some hair and ears…More hair than I have had in awhile :wink:

drawface_Mood_blink.hype.zip (38.9 KB)

1 Like

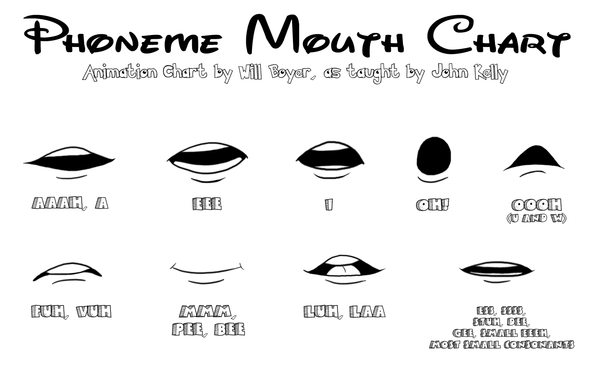
Next challenge create “Phonemes” the mouth movements that simulate spoken words.
Is it possible with Hype elements?
In this instance .pngs might be the best approach.
I think it would be a great step in animation with Hype.

He’s got more hair than a lot of us do, Nick

1 Like

I played with it a bit here on Zarvox...

1 Like

That Rocks!!
Put it on our new HYPEr Harry guy! :smile:

1 Like

What’s for dinner Nick?

Mood_blink_Cloud.hype.zip (89.5 KB)

1 Like

You can use the list items to link to other scenes, way cool!

<li><a a="" href="#" onclick="HYPE.documents['index'].showSceneNamed('scene2',HYPE.documents['index'].kSceneTransitionInstant);">Scene 2</a></li>

Credit Daniel for the link code.

Two ways to share share a grouped illustration

Create and group the illustration. Then select copy the Group.


First way:

Paste the group into a new hype document. Save and zip as usual.
Others can copy and paste the group into their own projects and retain control over each individual element in the group.

cloudElement.hype.zip (34.3 KB)

Second way,
This is aimed at sharing from on person to another without having to create a whole new hype doc But you lose control over each individual element in the group.

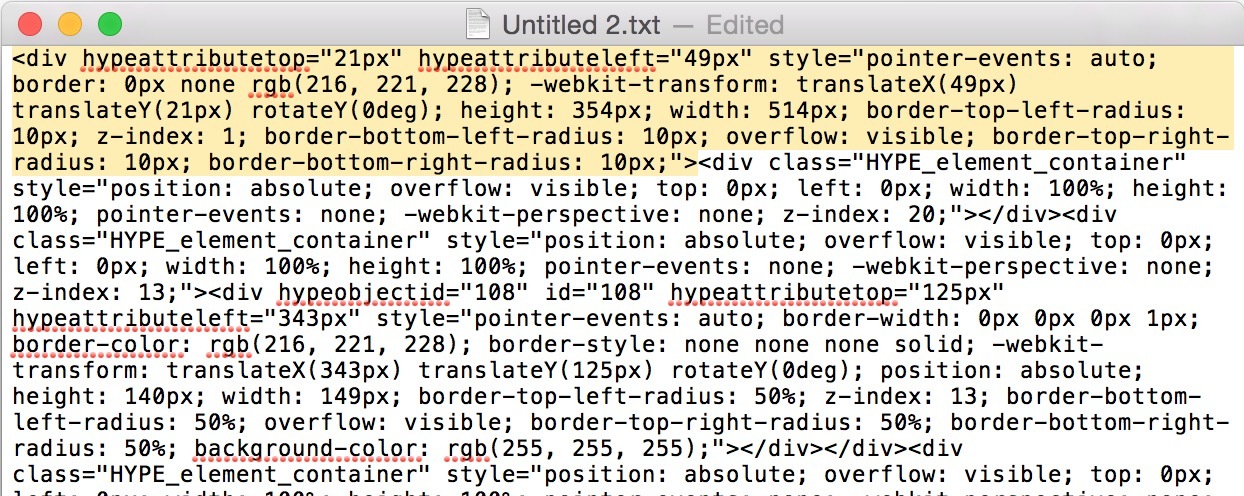
Open up a new plain text document in TextEdit. And paste the group into it.

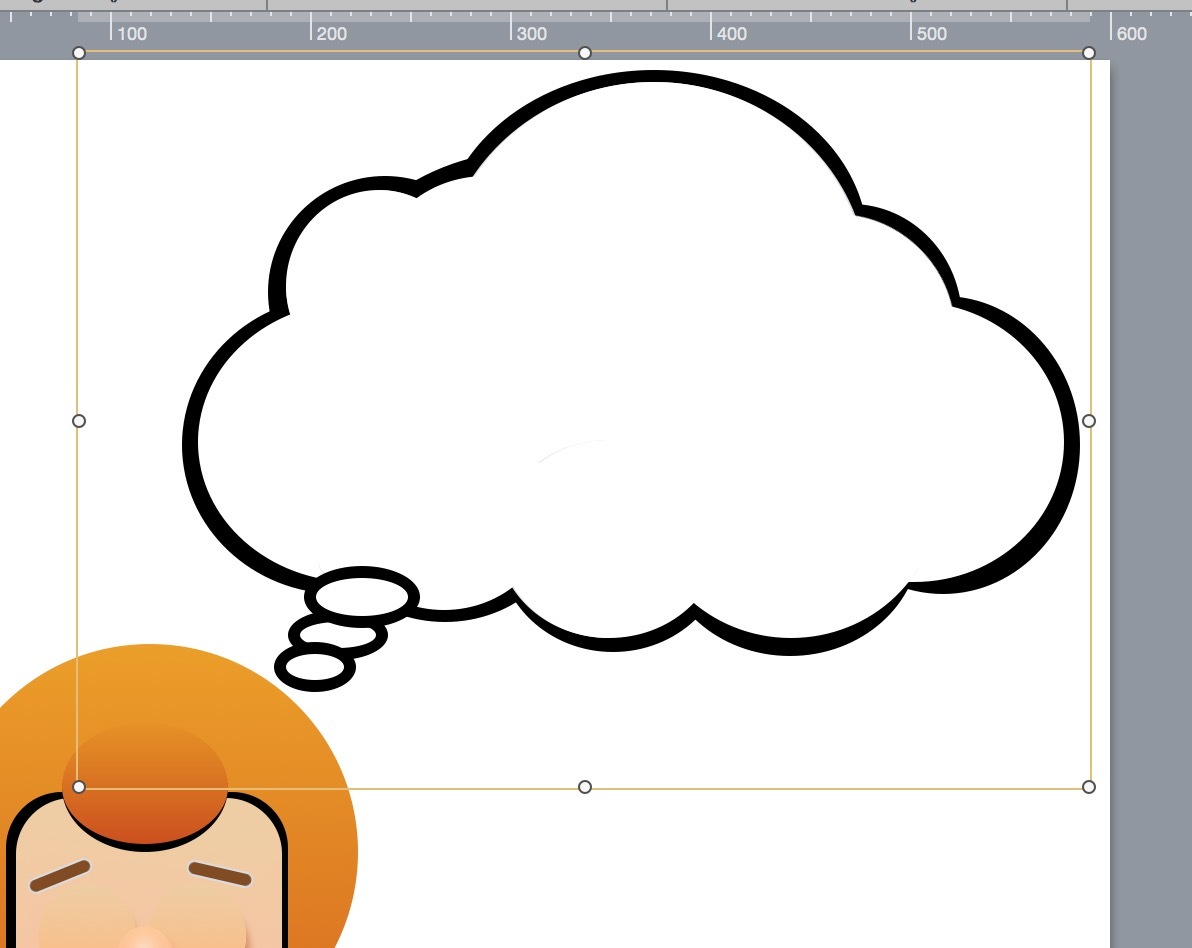
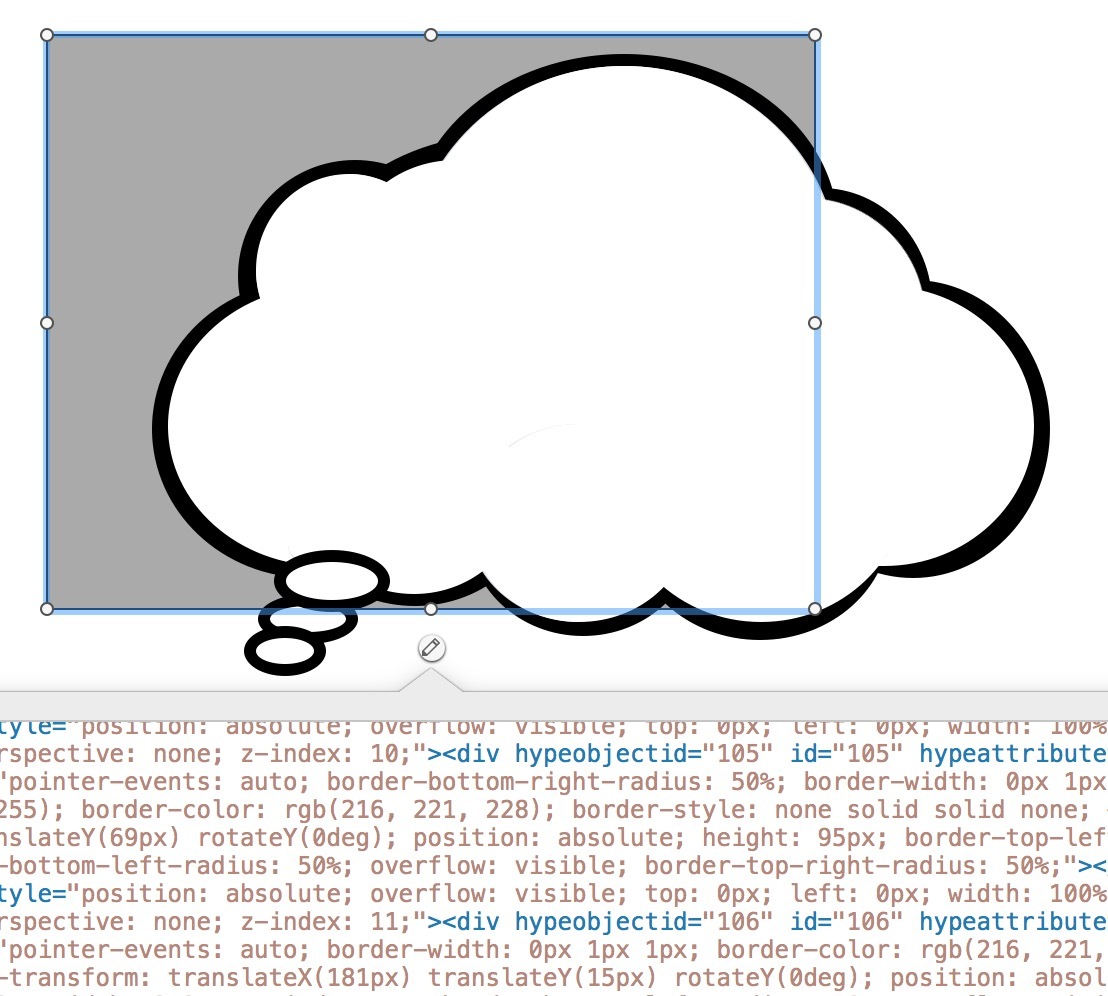
Now delete the first div. This is important so you are able to align the element properly later.


Save the file, zip and upload…

cloudElement.txt .zip (1.9 KB)


To use it.

Unzip and copy the text.

In Hype. place a new rectangle in the scene. Open up its innerHTML and Paste the text and then close the innerHTML.

Drag the rectangle around the illustration to centre it. ( If the first div was not removed then this will always out of alignment. if some one has forgot to do this you can remove it yourself).

Then use the Element inspector to set the rectangles colour and borders to none .

Thats it.


I will add being able to export and import group elements to the request.

1 Like

Oops. Updated the text file zip to the version without the first div… Doh

Wow, I didn’t know you could do this, thanks Mark

No prob. Being a long time Mac user I instinctively try and copy and paste from programs like this. :grinning:

Here is a way to add images in the tag cloud…

<li><a href="/donut/"><img src="${resourcesFolderName}/donut.png"></a></li>

and to trigger a timeline…

<li><a href="#" onclick="HYPE.documents['index'].startTimelineNamed('mood',HYPE.documents['index'].kDirectionForward);"><img src="${resourcesFolderName}/donut.png"></a></li>

2 Likes