I realized that svg does not allow me to edit html5 or css that is under a selected screen
Can you clarify what you’re trying to do? If you can attach a Hype document and explain what you’re hoping to change that would be helpful.
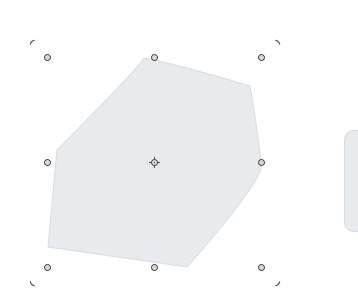
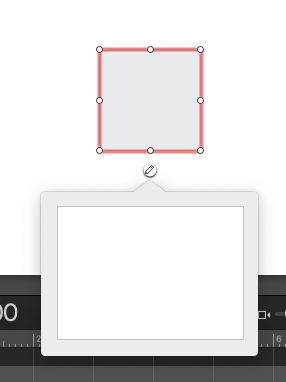
Now I explain more clearly that in square polygon or circle that is available to edit css should double click and a signal appears below this element.
But in polygon with SVG it doesn’t allow me to do it. If you double click it a selection appears or edit the polygon nodes. How to solve it?
You can set the unique element ID for that SVG in the Identity Inspector, and then apply any CSS you wish by targeting that element. What are you hoping to change?
If you set a unique element id as ‘myElement’:
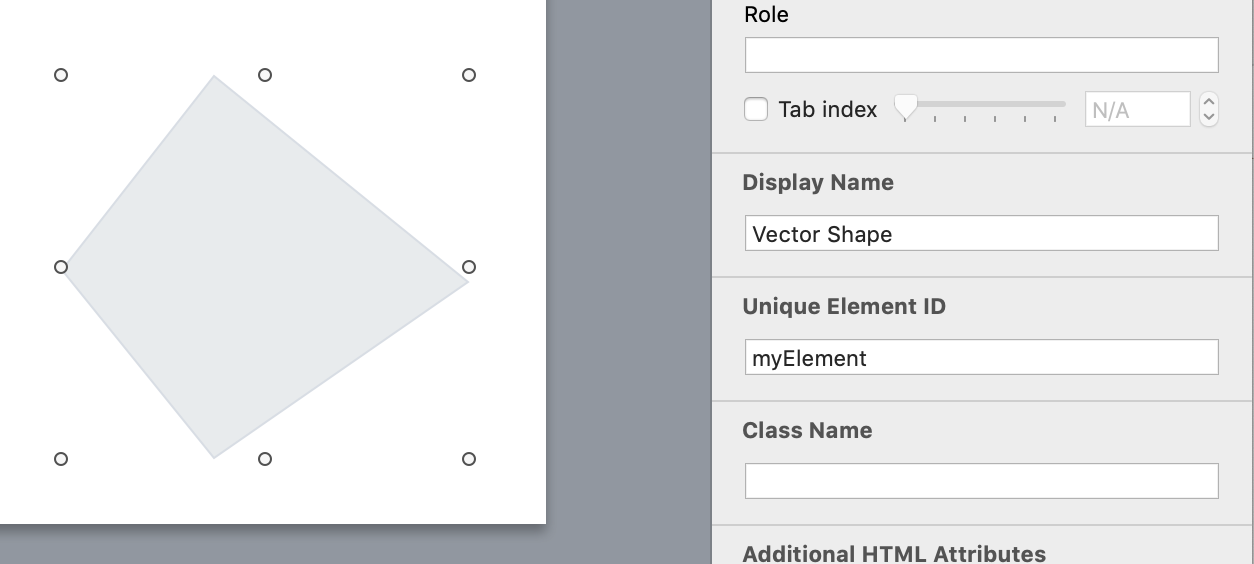
You would be able to target both the parent element Div containing the SVG and its path:

In the above screenshot, #myElement is the ID of the element containing the SVG, and #myElement_path is the ID of the path.
The best I can come up with is a “kluge”
However the kluge does work so I’m wondering why this cannot be done in Hype natively - perhaps I am missing something but based on @Daniel’s reply above I don’t think so.
The kluge in 3 steps:
1) Copy the polygon in a Hype document.
2) Edit the innerHTML of a rectangle in the Hype document and then paste into the rectangle’s innerHTML - voila the polygon will appear (example script below)…
<div hypeattributeleft="250.000px" hypeattributetop="150.000px" style="pointer-events: auto; transform: translateX(250px) translateY(150px) rotateY(0deg); height: 100px; overflow: visible; width: 100px; z-index: 1;"><svg width="100%" height="100%" style="position:absolute" version="1.1" xmlns="http://www.w3.org/2000/svg"> <defs> <linearGradient id="1_hype_gradient" gradientUnits="userSpaceOnUse" x1="0%" y1="0%" x2="100%" y2="0%" gradientTransform=""> <stop offset="0%" stop-color="" stop-opacity="1"></stop> <stop offset="100%" stop-color="" stop-opacity="1"></stop> </linearGradient> <pattern id="1_hype_pattern" patternUnits="objectBoundingBox" width="1" height="1" viewBox="0 0 1 1" preserveAspectRatio="xMidYMid slice"> <image xlink:href="" x="0" y="0" width="1" height="1" preserveAspectRatio="xMidYMid slice"></image> </pattern> </defs> <filter id="1_hype_filter"><feOffset></feOffset></filter> <path id="1_path" fill="#E8EBED" filter="none" d="M50.00 1.00 L 96.60 34.86 L 78.80 89.64 L 21.20 89.64 L 3.40 34.86 L 50.00 1.00 Z" stroke="#D8DDE4" stroke-width="1" stroke-linecap="butt" stroke-linejoin="miter" stroke-miterlimit="4" fill-rule="nonzero"></path></svg></div>
3) Look in the script You have pasted into the innerHTML of the rectangle and You will see the following line (as per my above script):
transform: translateX(250px) translateY(150px)
Change translateX(250px) to translateX(0px) to place the polygon inside the rectangle. Do the same for translateY… or where ever You wish to place the polygon.