I have finalized and published my Hype Pro to Xcode 8.1 and Swift 3.0 series.
Here is the link to the playlist
In the series you will create a Hype tapping game and then wrap it up in Xcode 8.1 and Swift 3.0 to make a native app for the App Store.
I hope you enjoy it, and please share as often as you want.
I will answer as many questions as you send me if you get stuck.
I really love making these tutorials. Wish I was quicker in the release but day jobs get in the way
I have also posted the code on my GitHub Repository so you can use it as a template for your own projects.
The final video that just focuses on Hype in Xcode is here…I also plug all the fine resources here in the forums as well.
I have to say that working in Swift 3.0 is much easier than Objective C in some ways and much much better than working in Swift 1 or 2. But when they upgrade the language it can be a real bear to get a project in progress back into sync.
Would love to hear if anyone makes a Hype/Swift Hybrid app soon!
Well done!
I have one project almost ready and will try to complete it with your Swift 3 tutorial. I wil let you know my findings. Probably by the end of the coming week.
thanks for the tutorial.
When transferring this into Swift, you are using pre-typed lines of code.
Could you publish these lines here ?
For one, -like I am-, not experienced in coding, this would fill the gap.
Thanks for you`re help.
I have put the code in my GitHub repository so you can download the entire Xcode project.
You would need to enter in your name or company name for the Team and signing information.
And then focus on the ViewController.swift file to change the name of your html file.
I am thinking though that I will work on another tutorial that focuses on starting a Swift project using Hype Content but spend a bit more time on how Xcode works and some basic Swift syntax.
Thanks Nick! Your tutorial is easy to follow, and my app works great. This technique opens a world of possibilities. If you ever make another video, please maximize the Xcode window to make it easier to read. But really man - thanks so much.
@SteveF so glad it helped out!
I am tweaking the add-on website in the similar fashion like I did for the ObjC tutorial so people can also have an online document to follow.
The next project underway is Hype and Android Studio.
With such a large percentage of Android phones out there it makes sense that Hype designers have a direct and easy way to get their content into those hands as well
Well, no problems at all! Great tutorial Nick. App is ready to be uploaded to the Appstore. It might take some time before I have settled it all. In the meanwhile if you want to take a look:. It is still in Dutch, but English translation is on its way. Please use alt cmd R in Safari.
Would you by chance know a way to make the launchscreen picture is longer visible. For instance until the Hype “loading” sign is popping up?
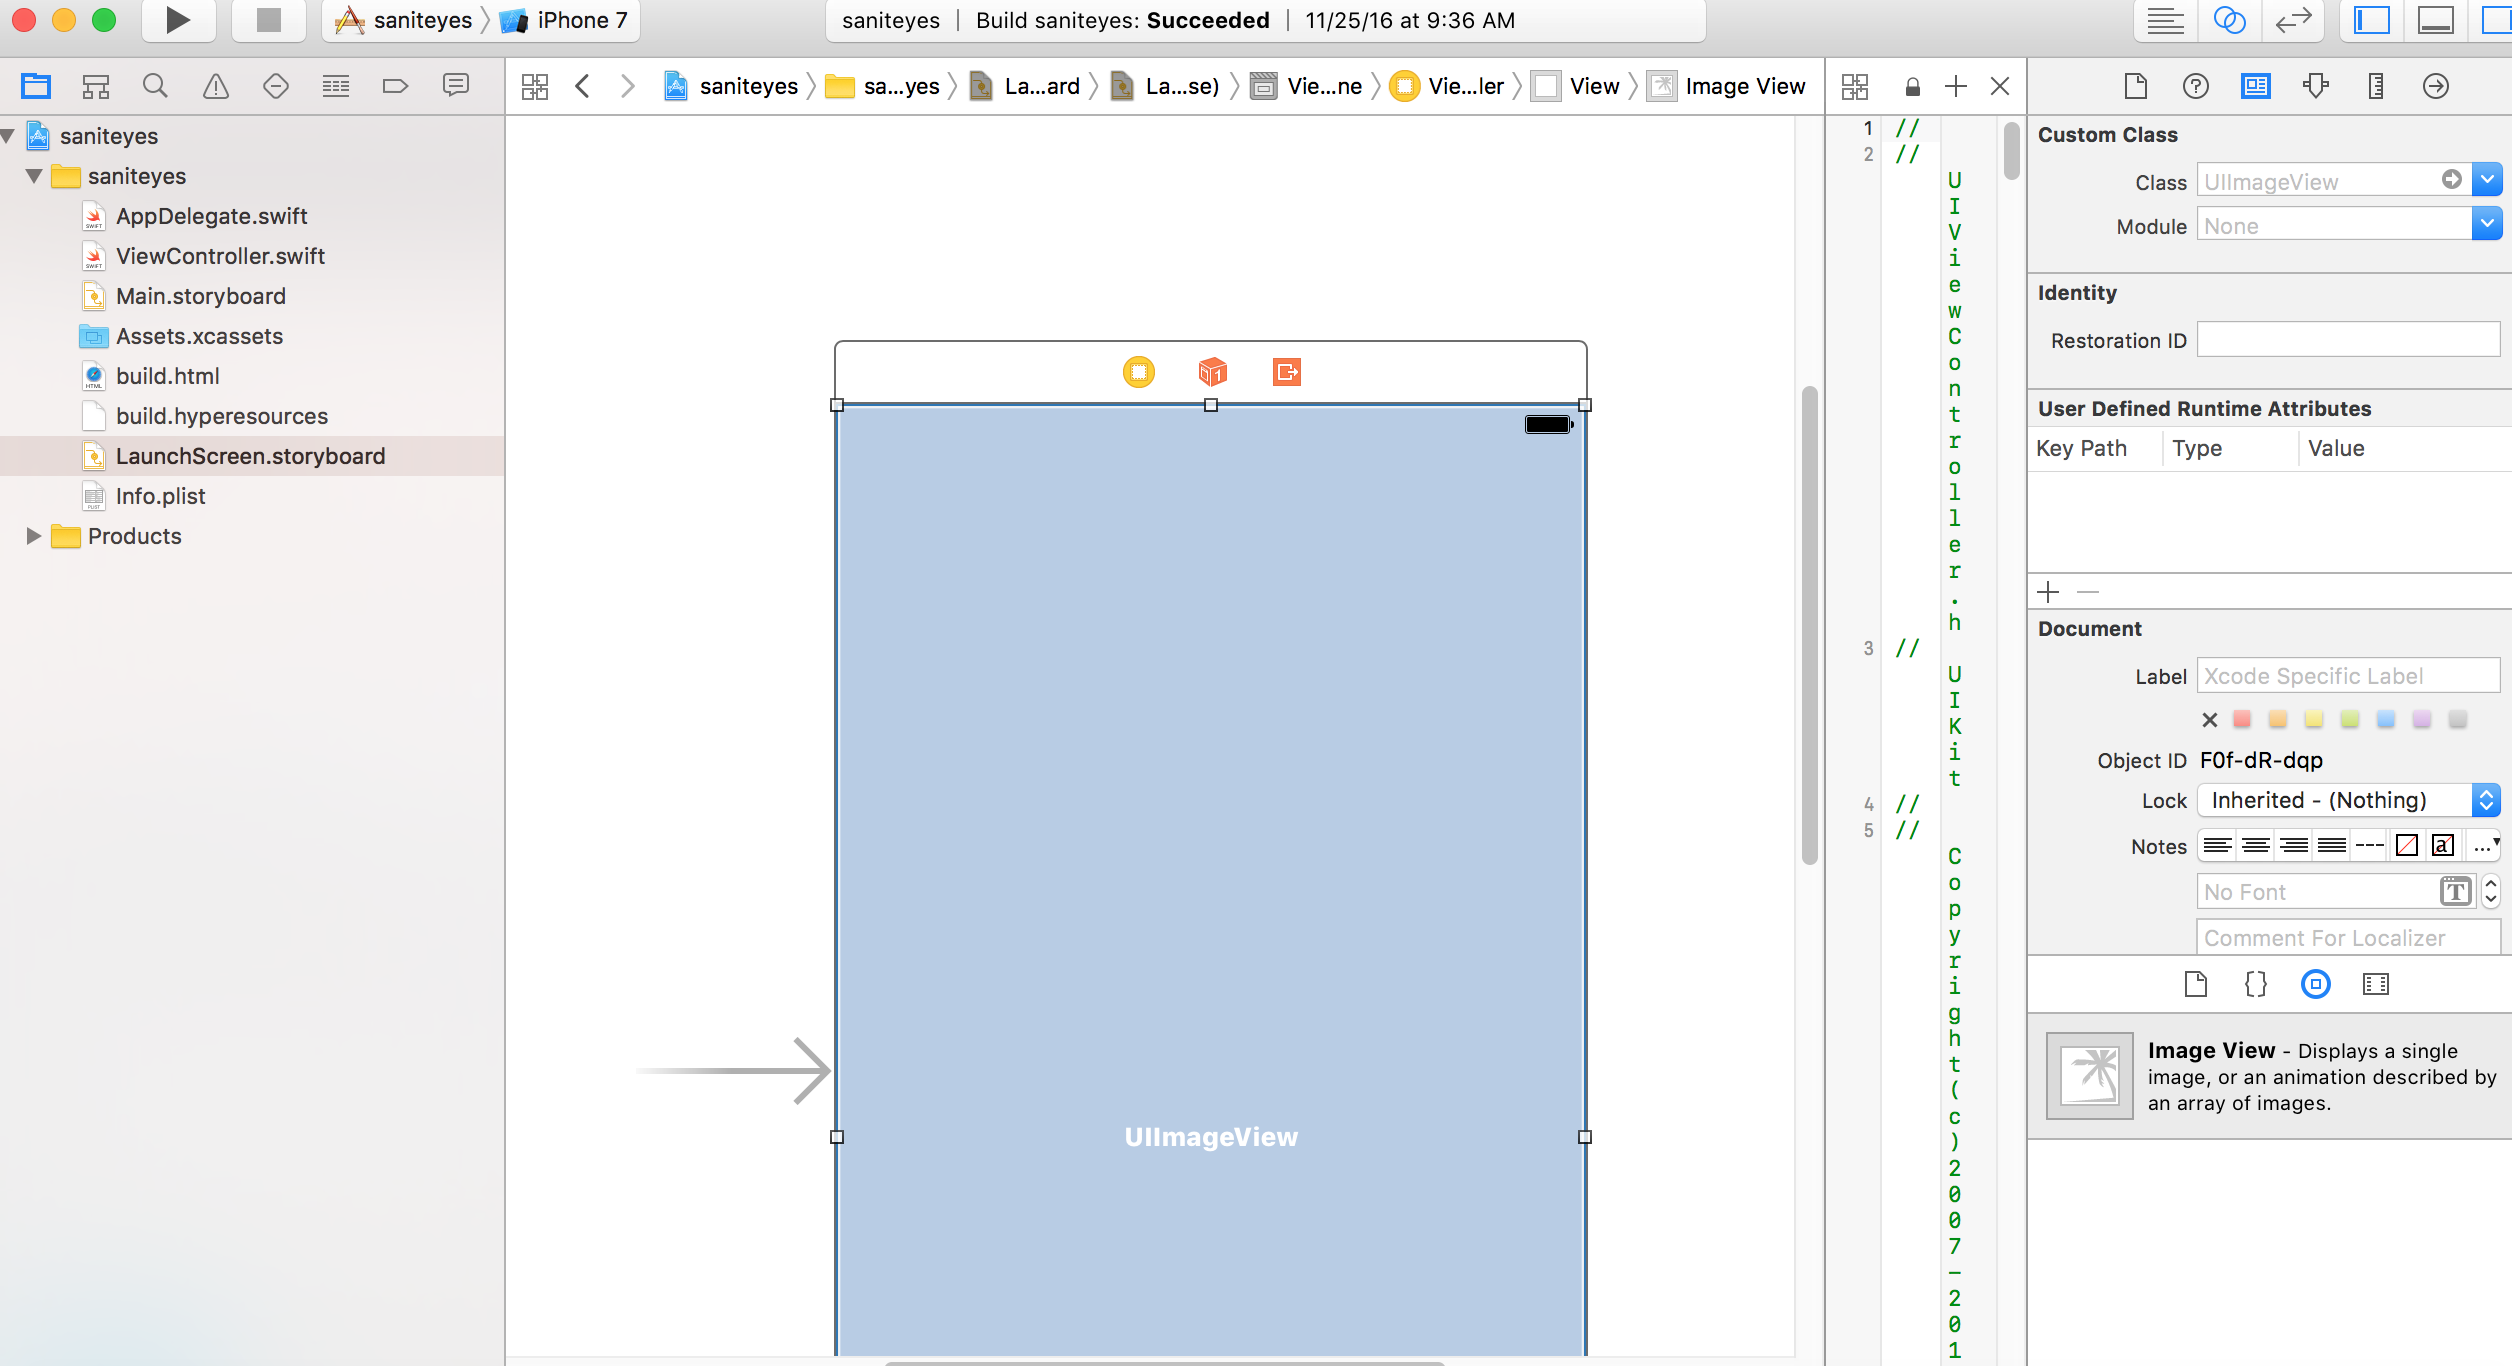
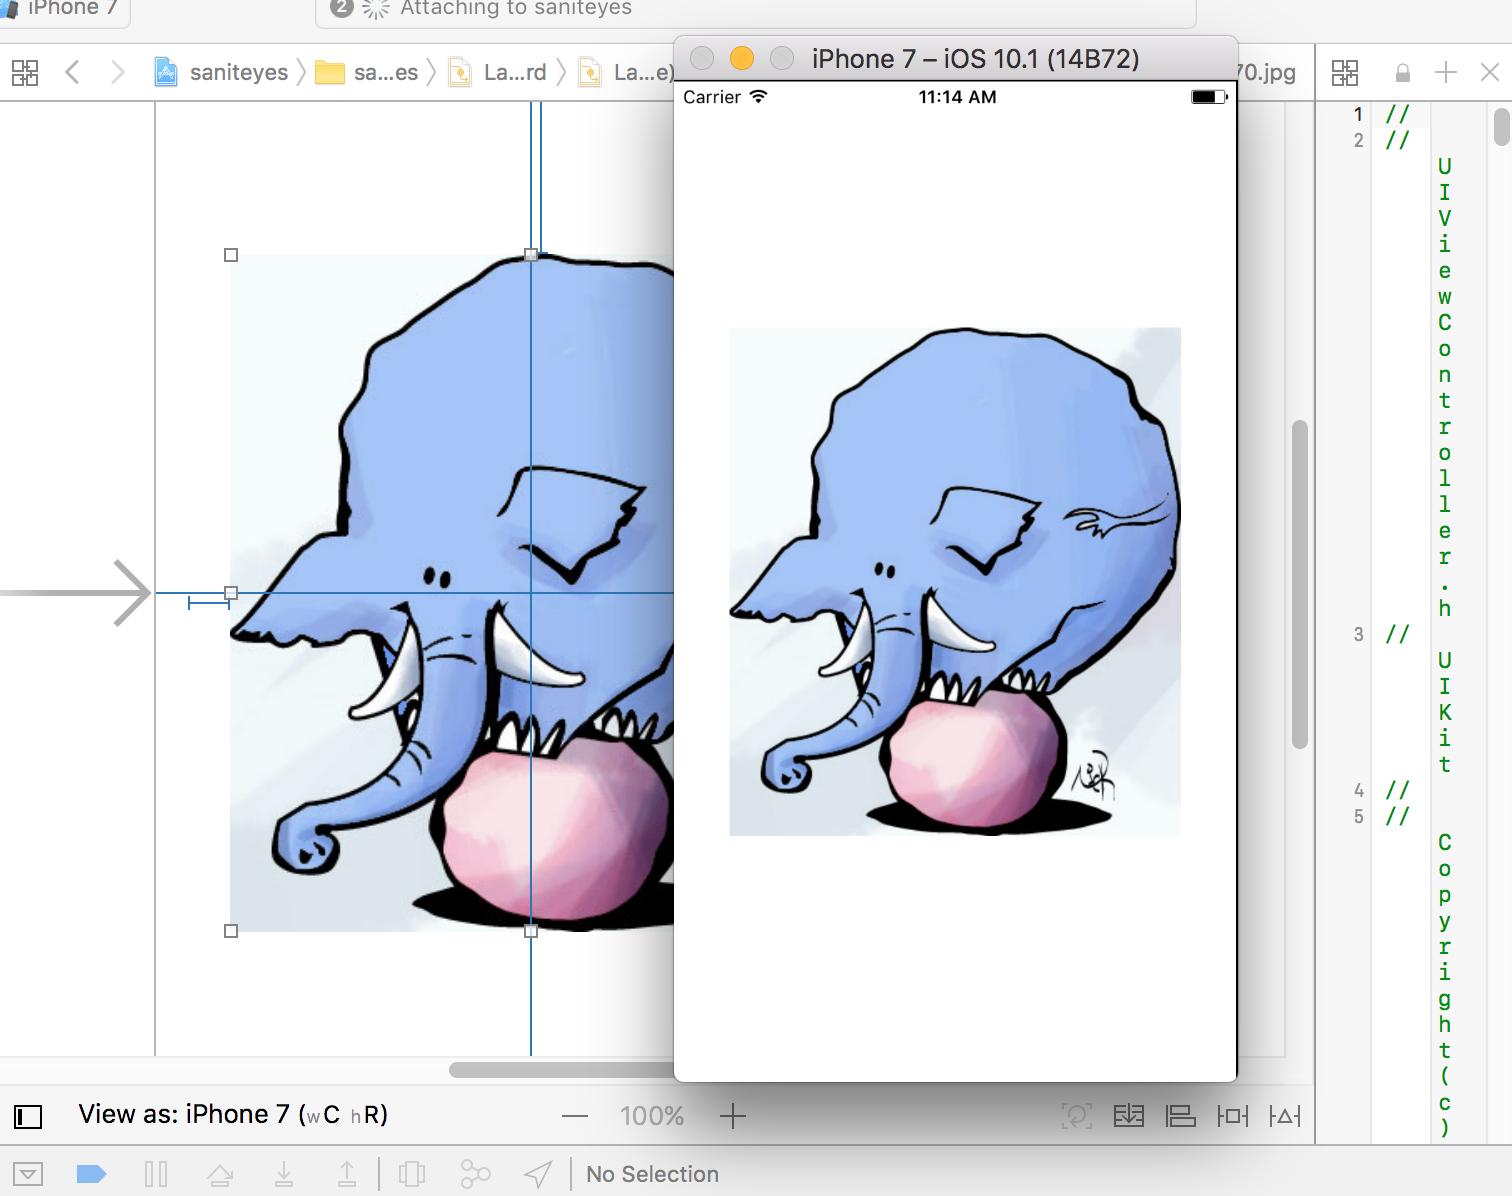
In your object inspector select a UIimageView and drag that to the storyboard.
Resize it to your screen.
Import an image into your project just like you did with your Hype.html file.
Select the image view and place your image into the view by going to your Attributes inspector. And select the name of the image you imported into Xcode into that image field.
It depends.
For most things where you are doing something like small games or children’s books that become apps this is a great way to work in an intuitive program and then make it into a native app.
I would say anything that can function on the web without a helper but would make a nice app then give it a try.
But if you want the functionality of Core Location services and Core Data from iOS it is best to work in Swift right from the start.
Yes and no.
When I tried it at first it was having trouble working with local embedded HTML 5 files.
They would not link properly and I kept getting errors.
I have seen some work arounds for it and they are definitely more complex than the UIWebview
The benefit of WKWebView for linking to online content seems to be where the big lift is.
I am not sure it will give your hybrid app any extra benefits. Or rather I do not think your UIWebView will make your app suffer.
However, Here is one work around I found.
The key is for the BaseUrl which replaces the localfilePath
import UIKit
import WebKit
class ViewController: UIViewController { @IBOutlet var containerView: UIView! = nil //allows the class to refrence WKWebView
var webView: WKWebView?